Tim 🎮timixretroplays@digipres.club
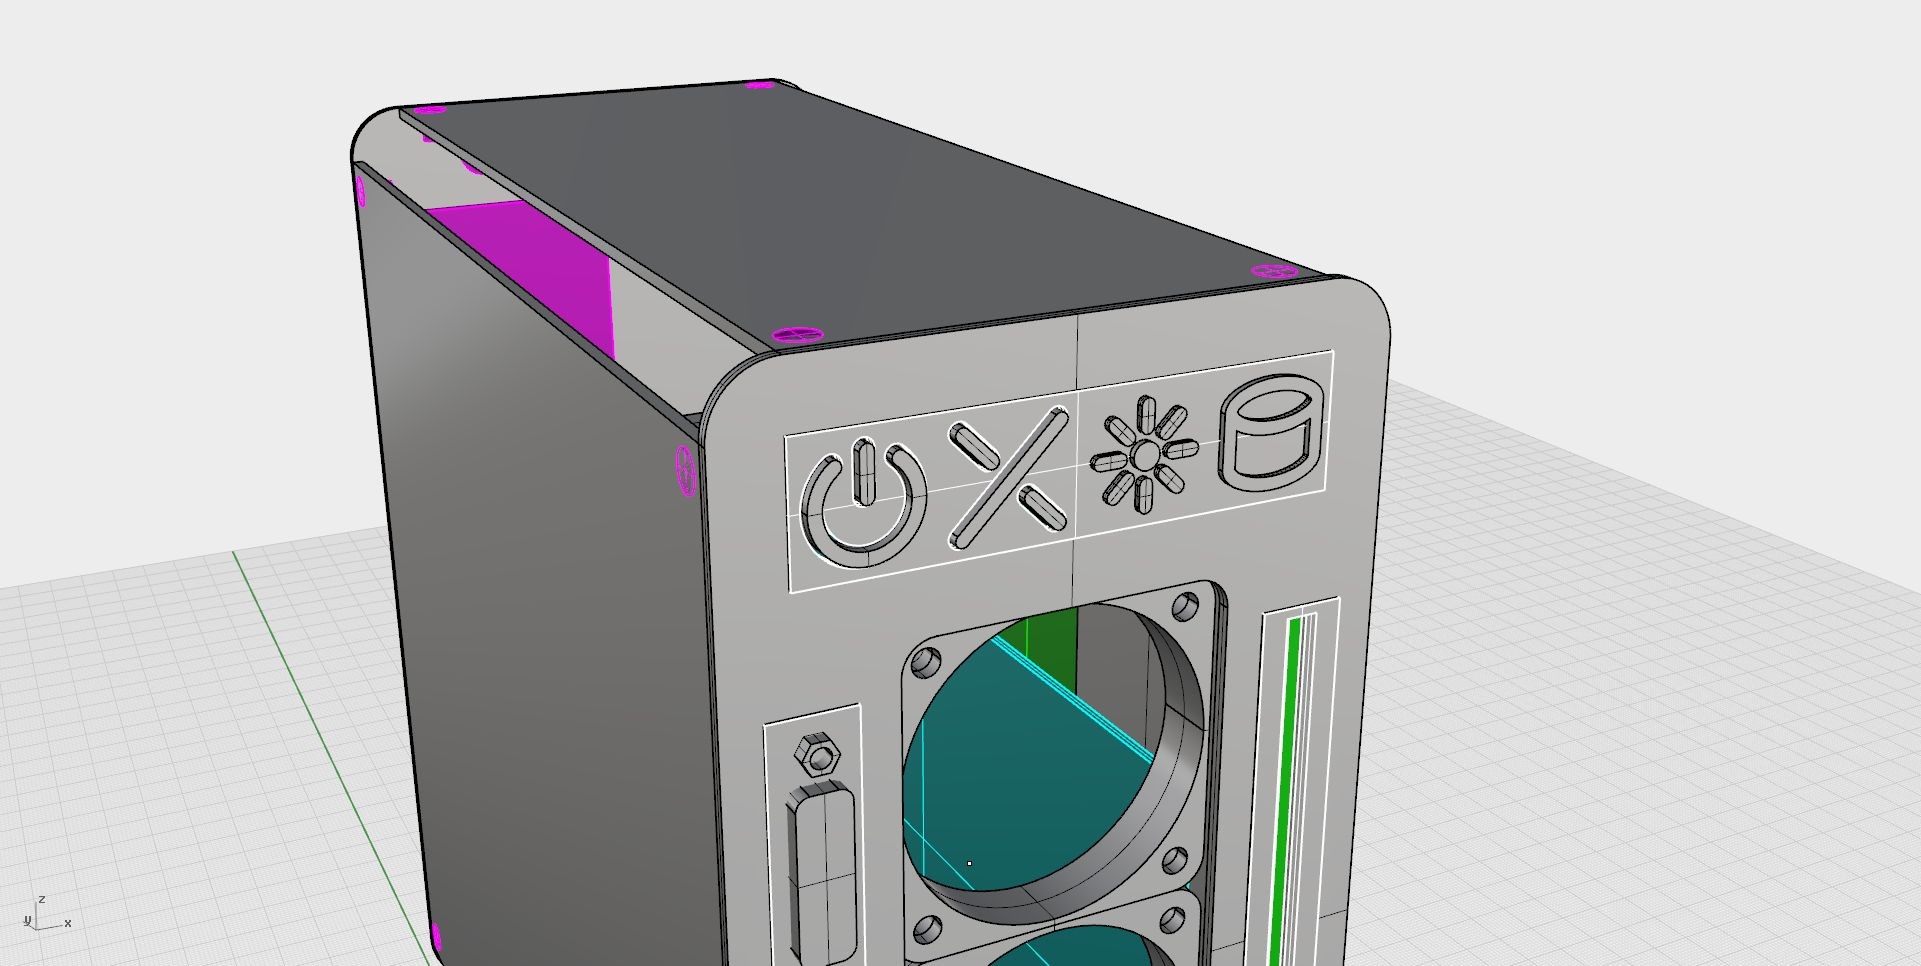
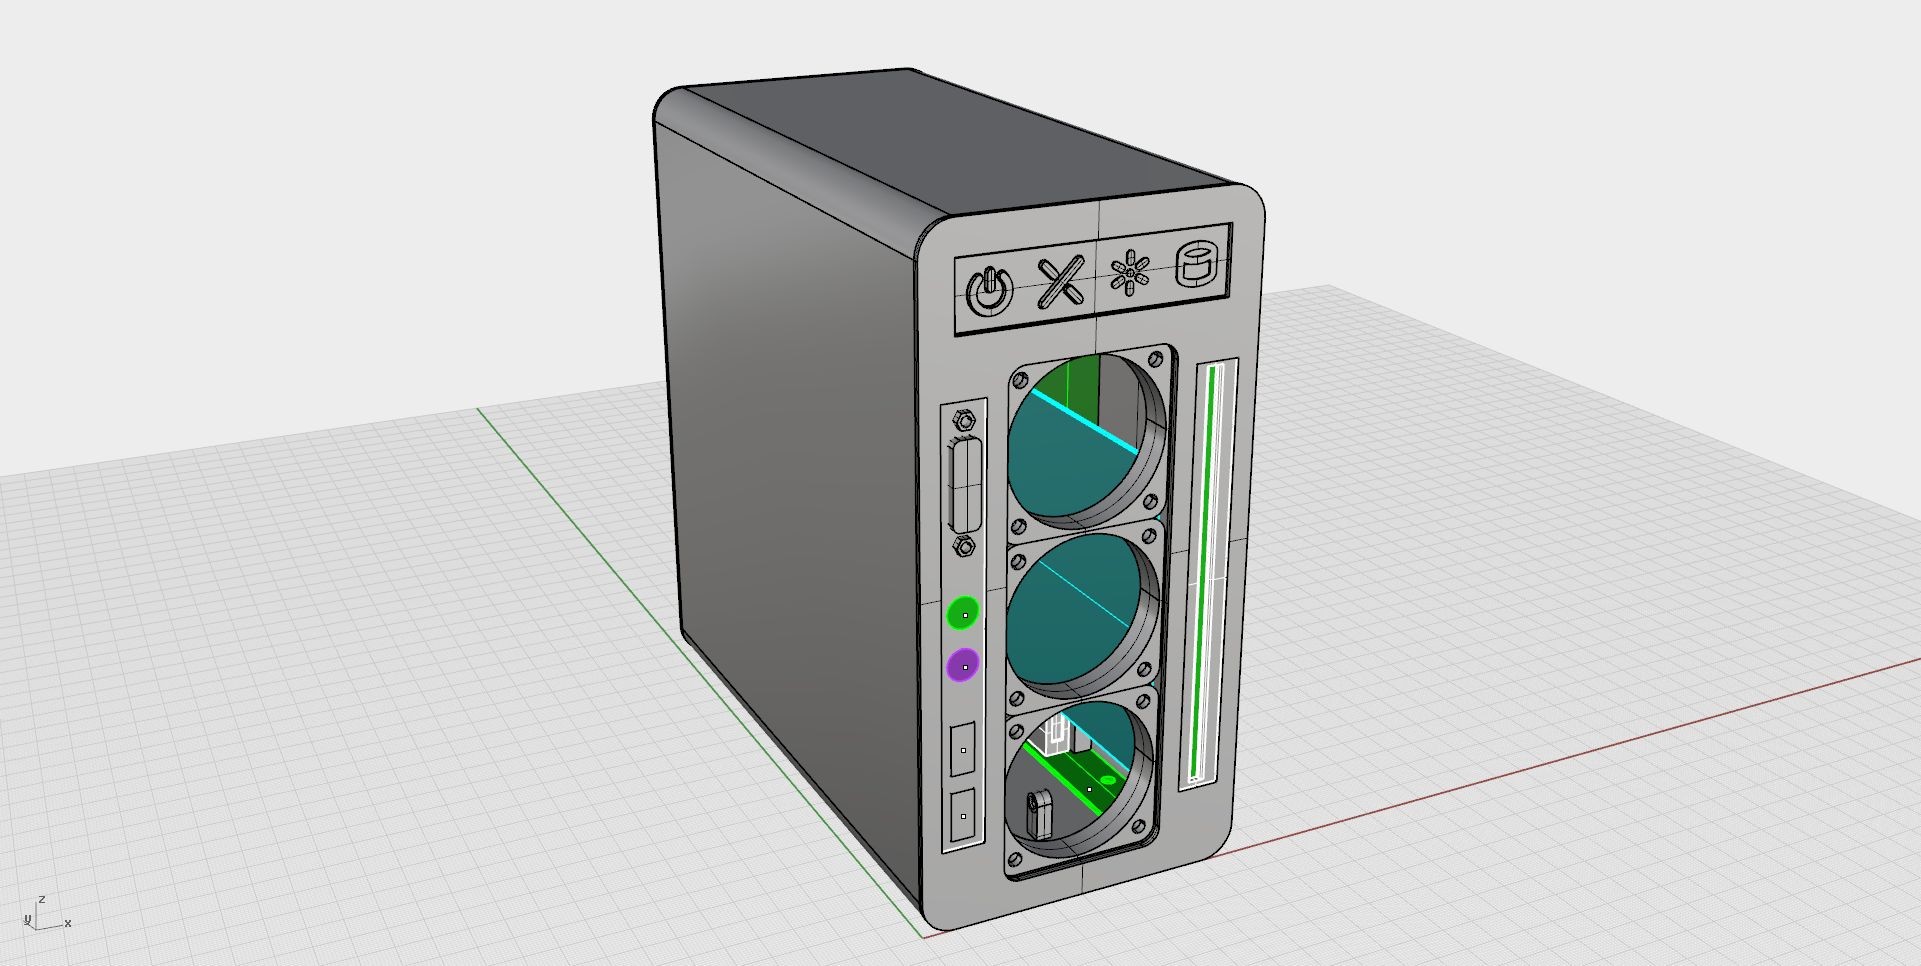
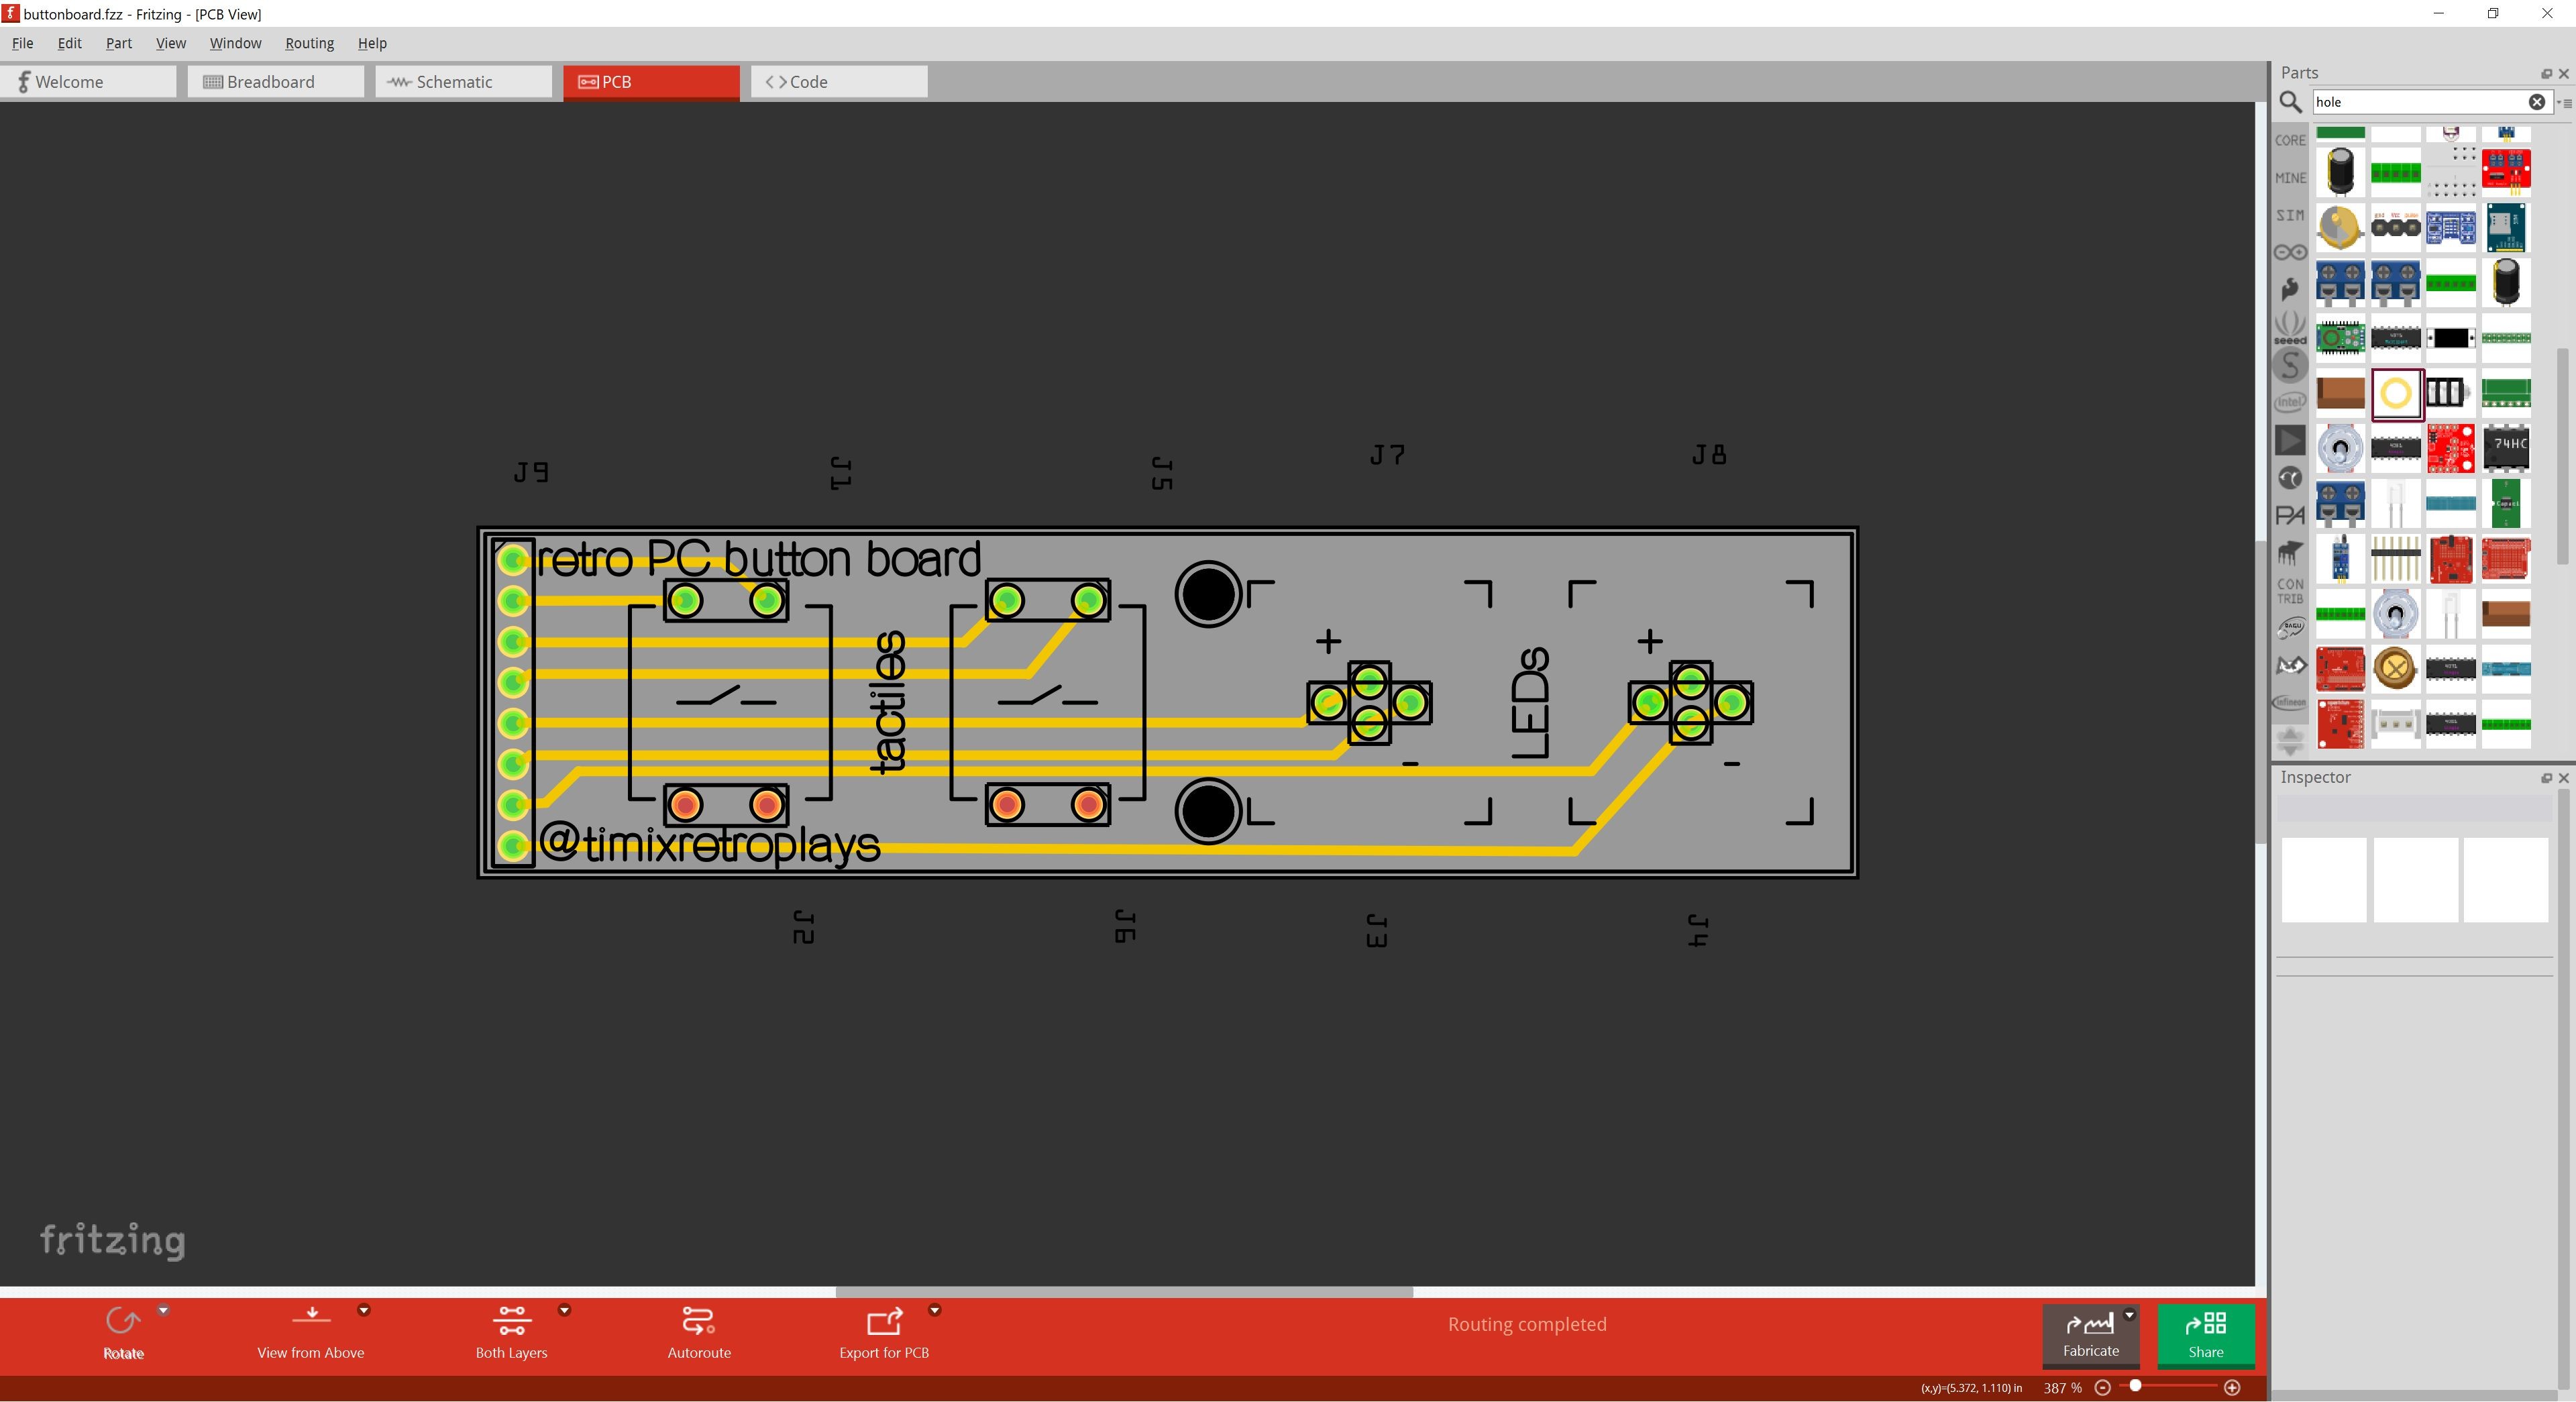
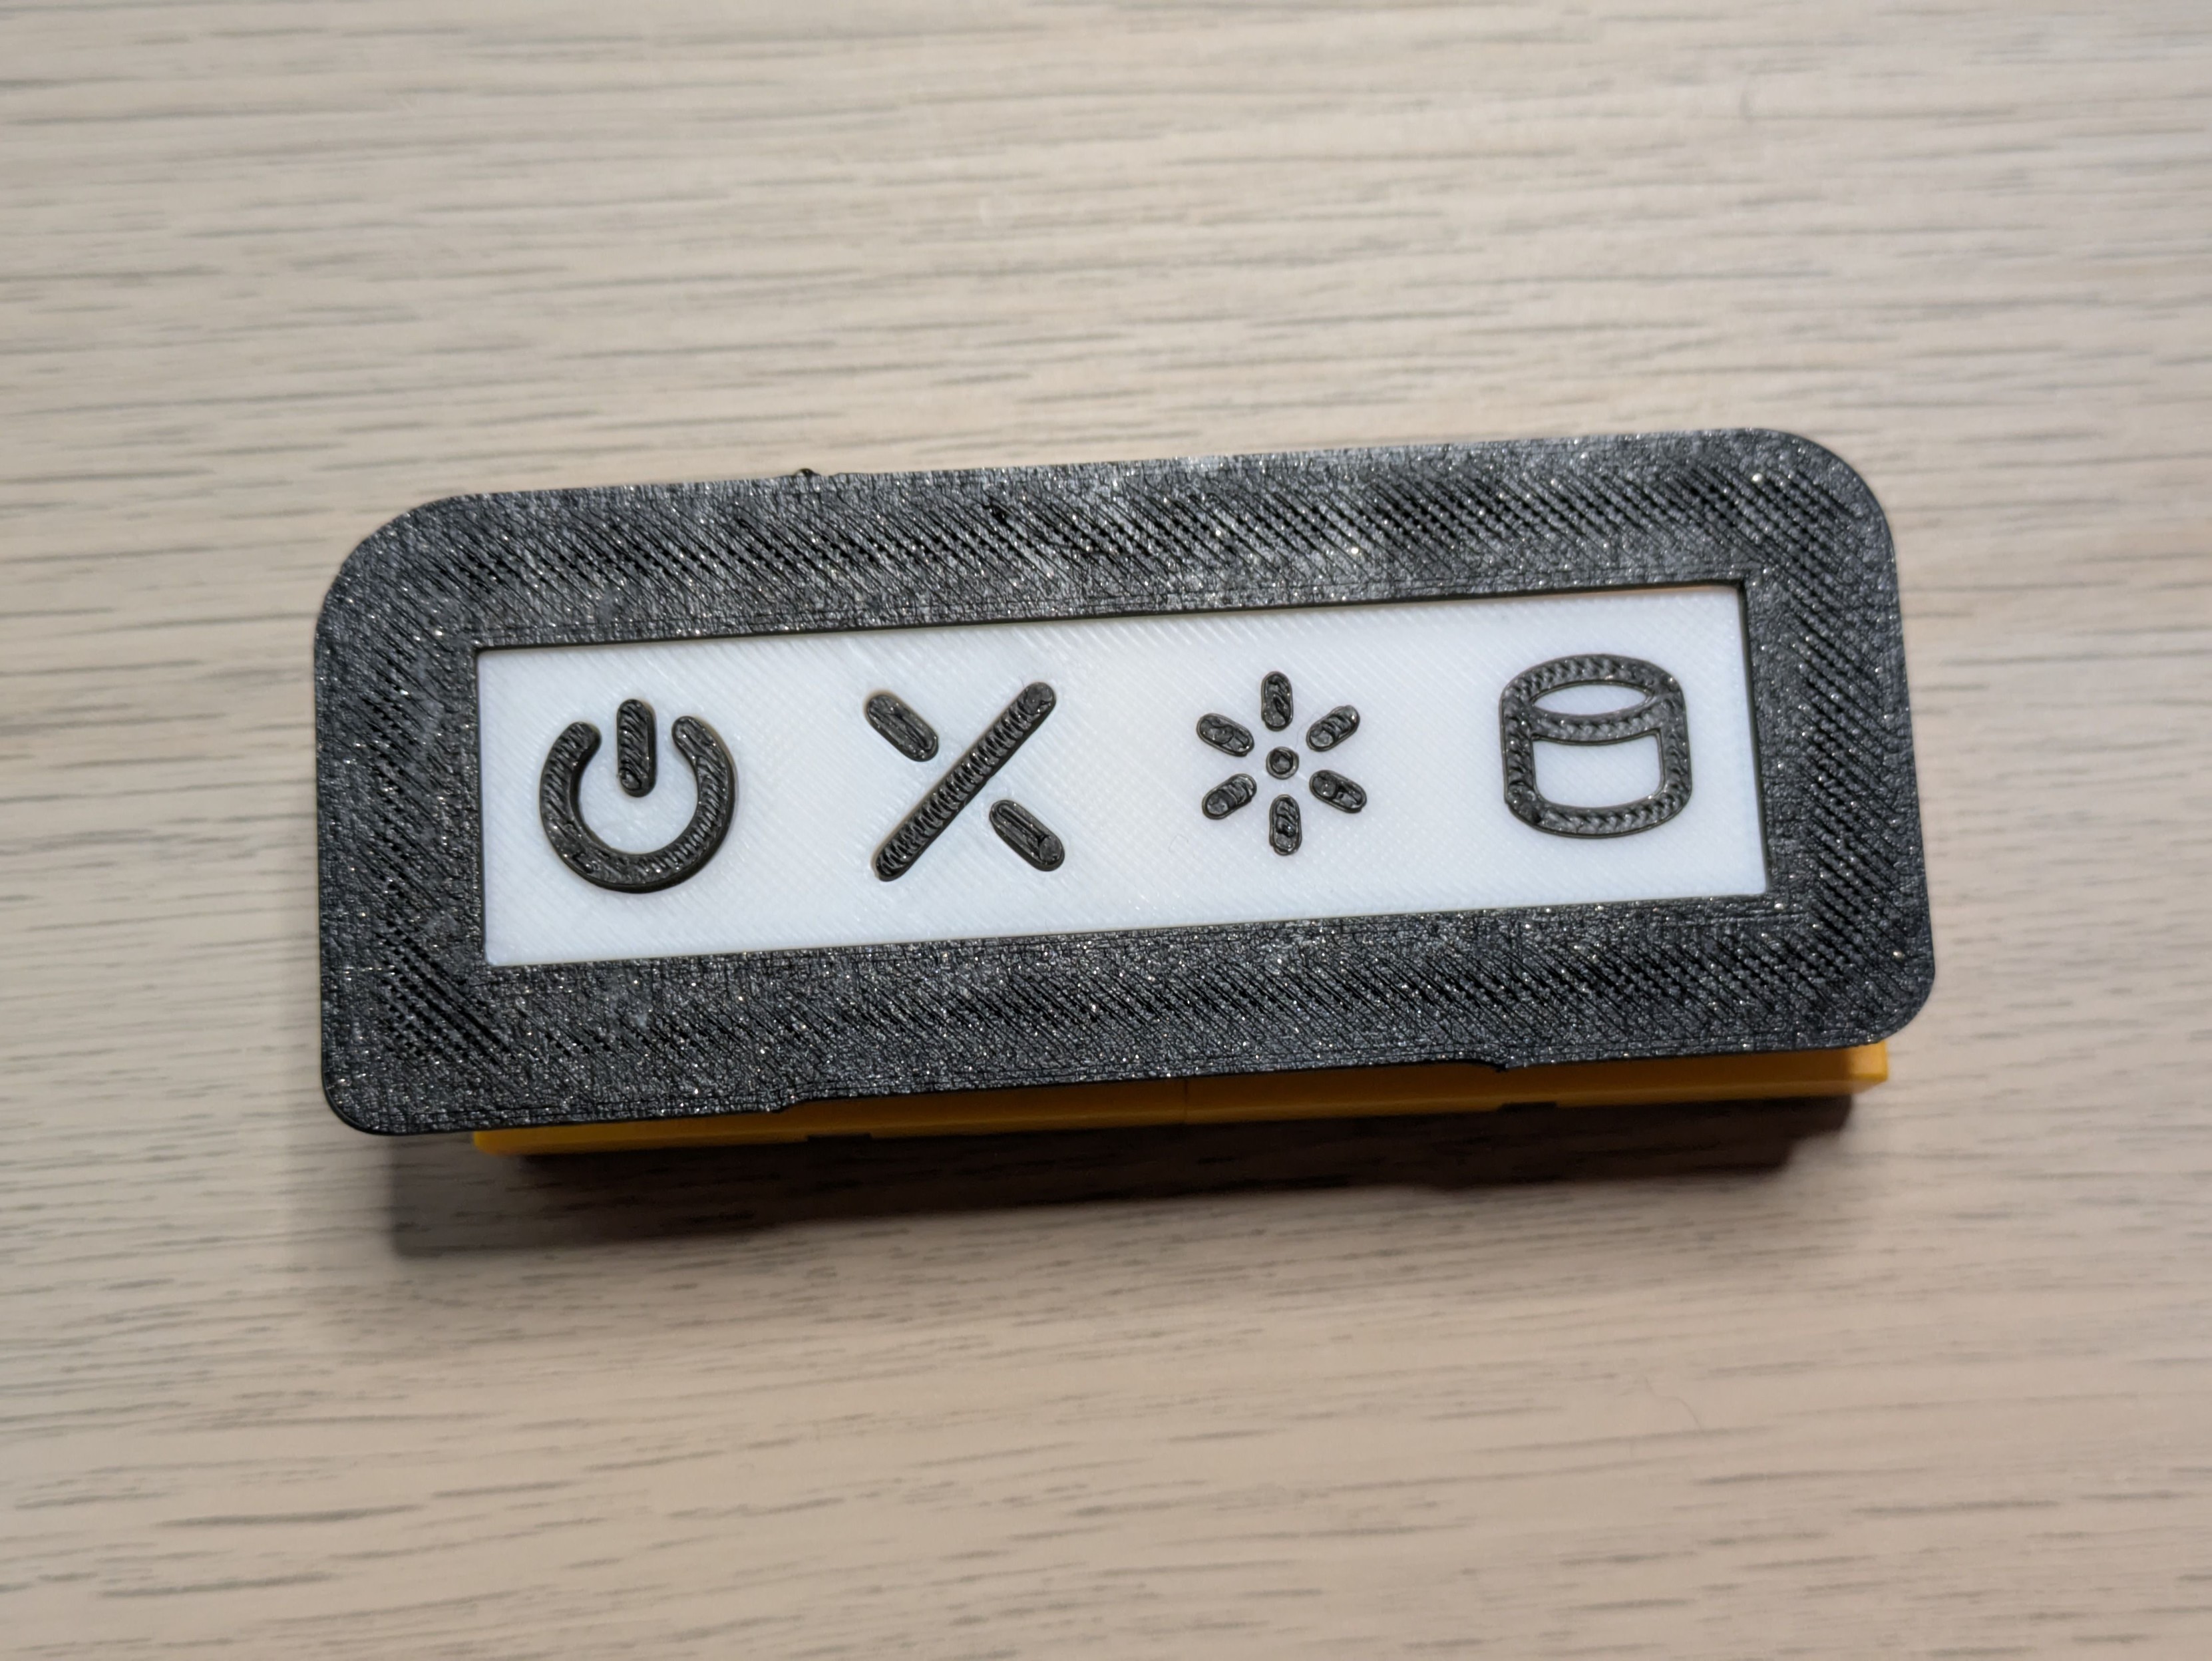
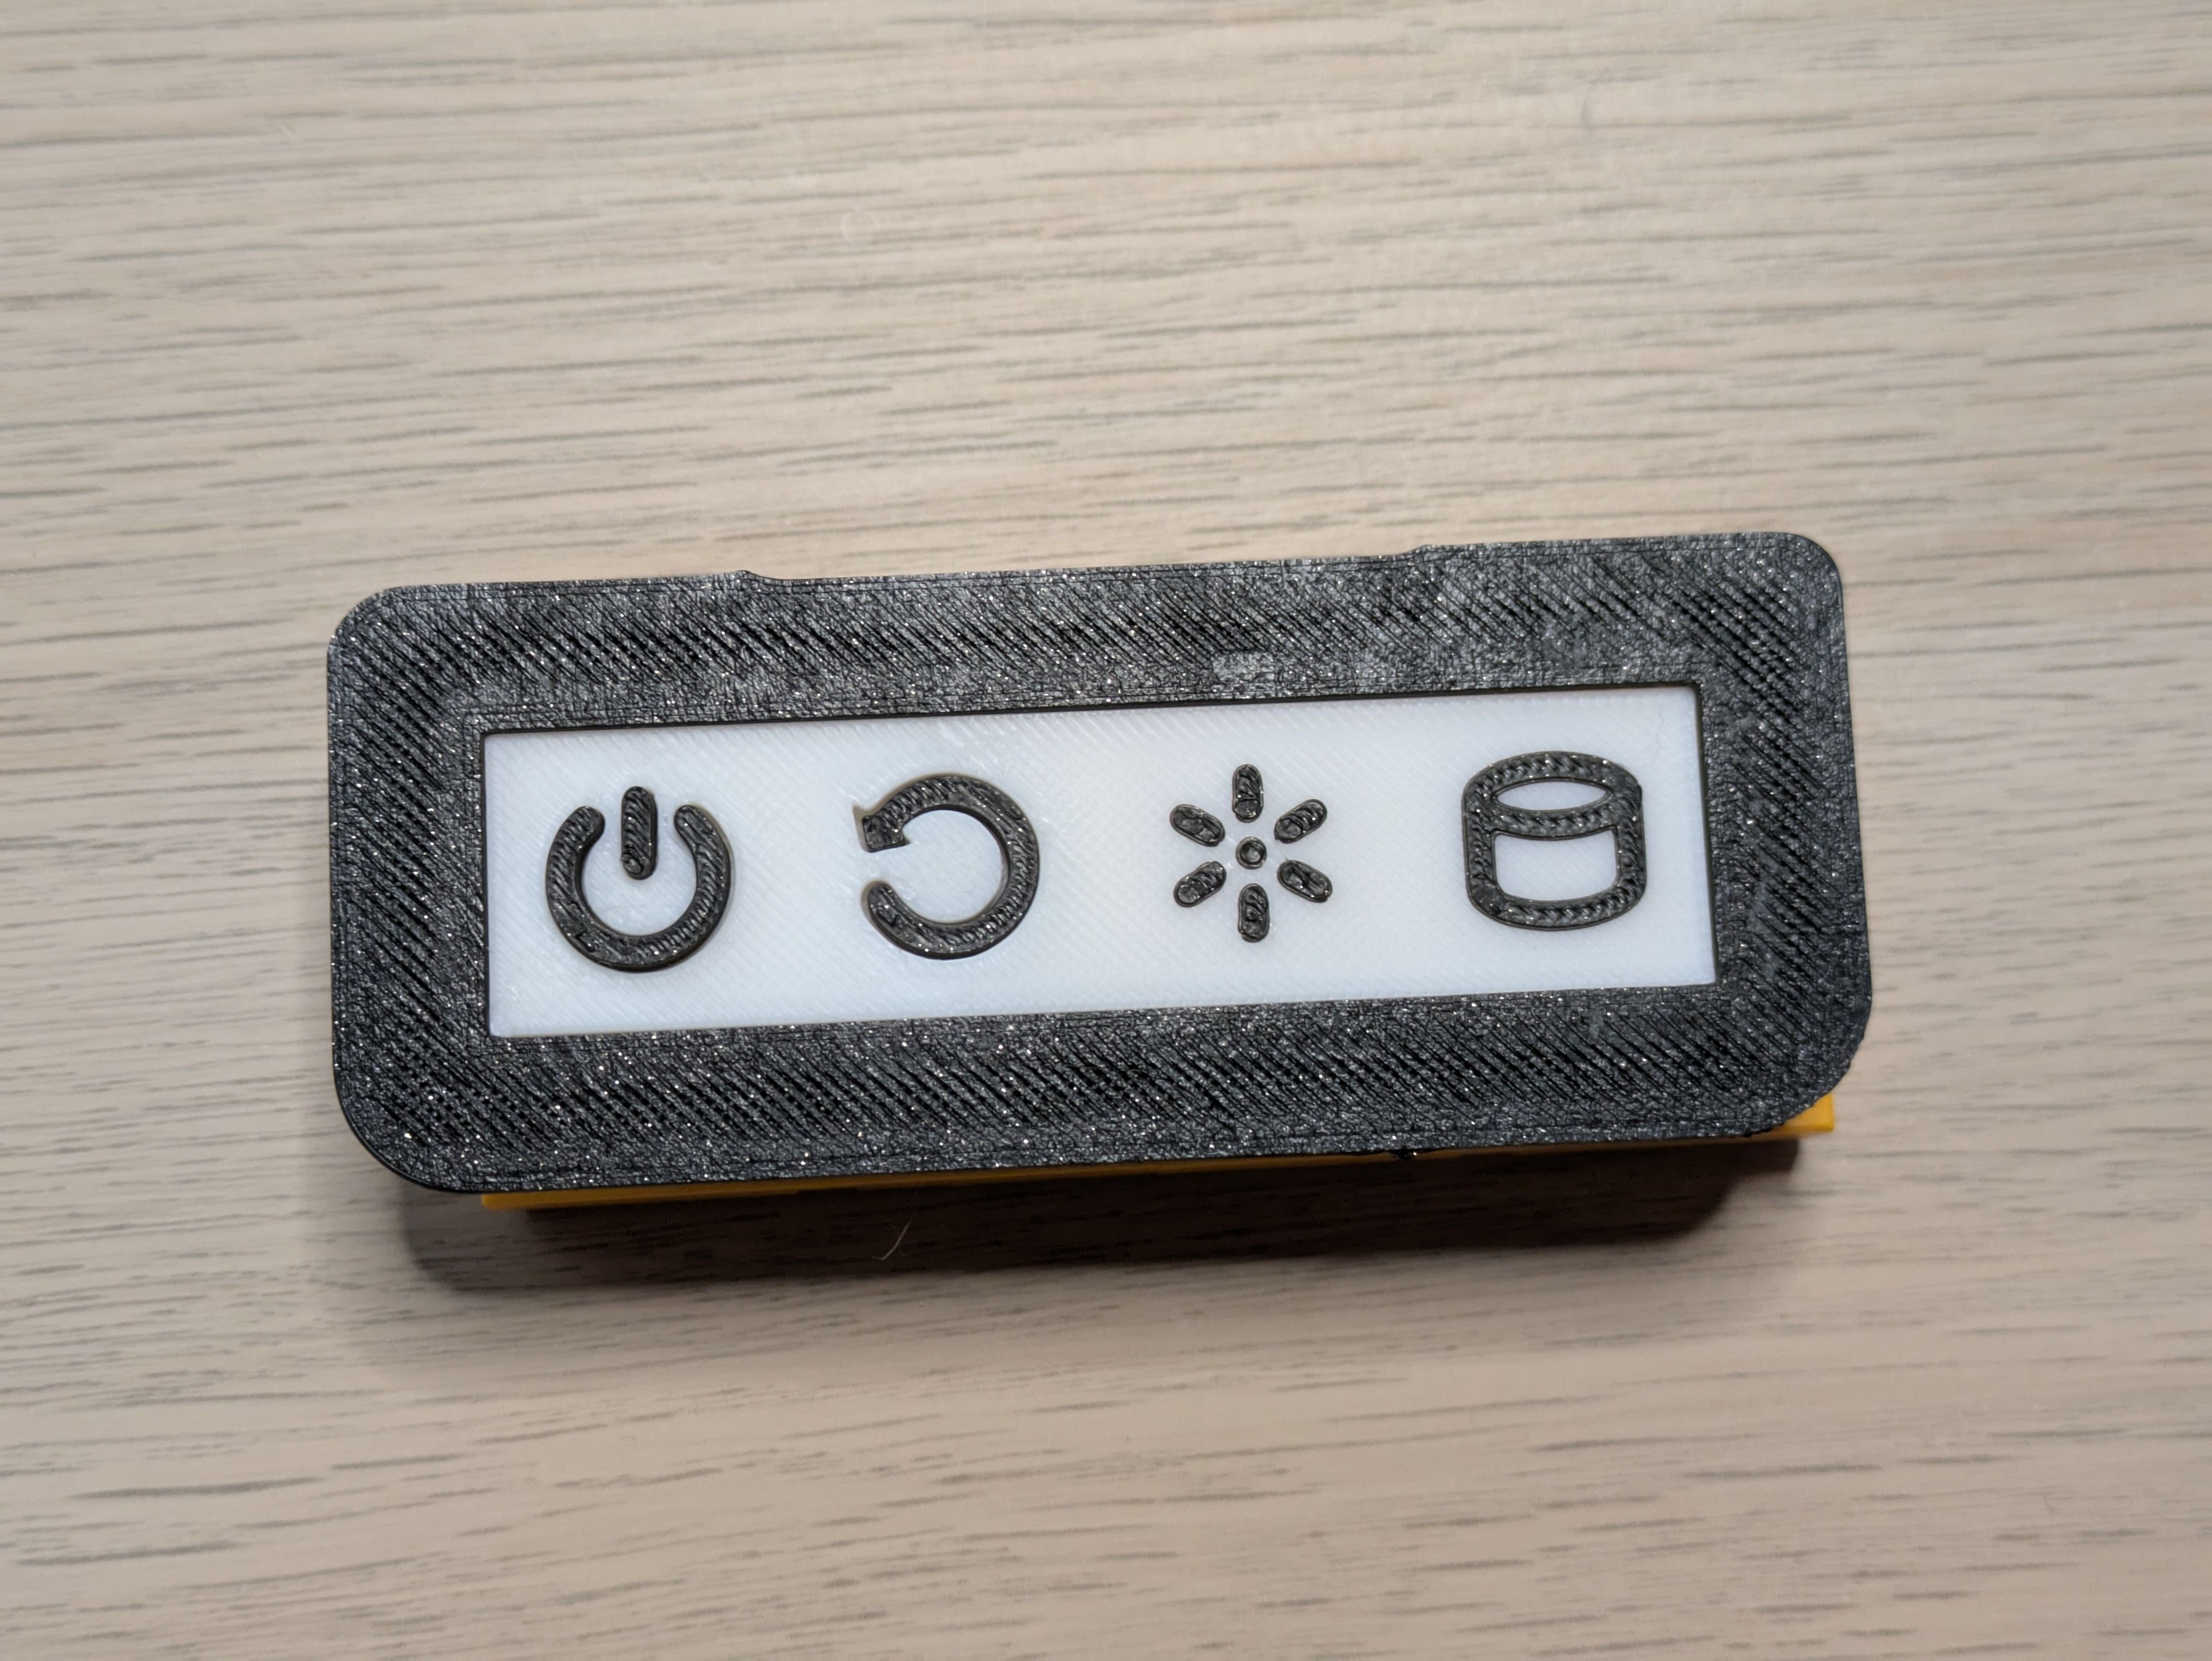
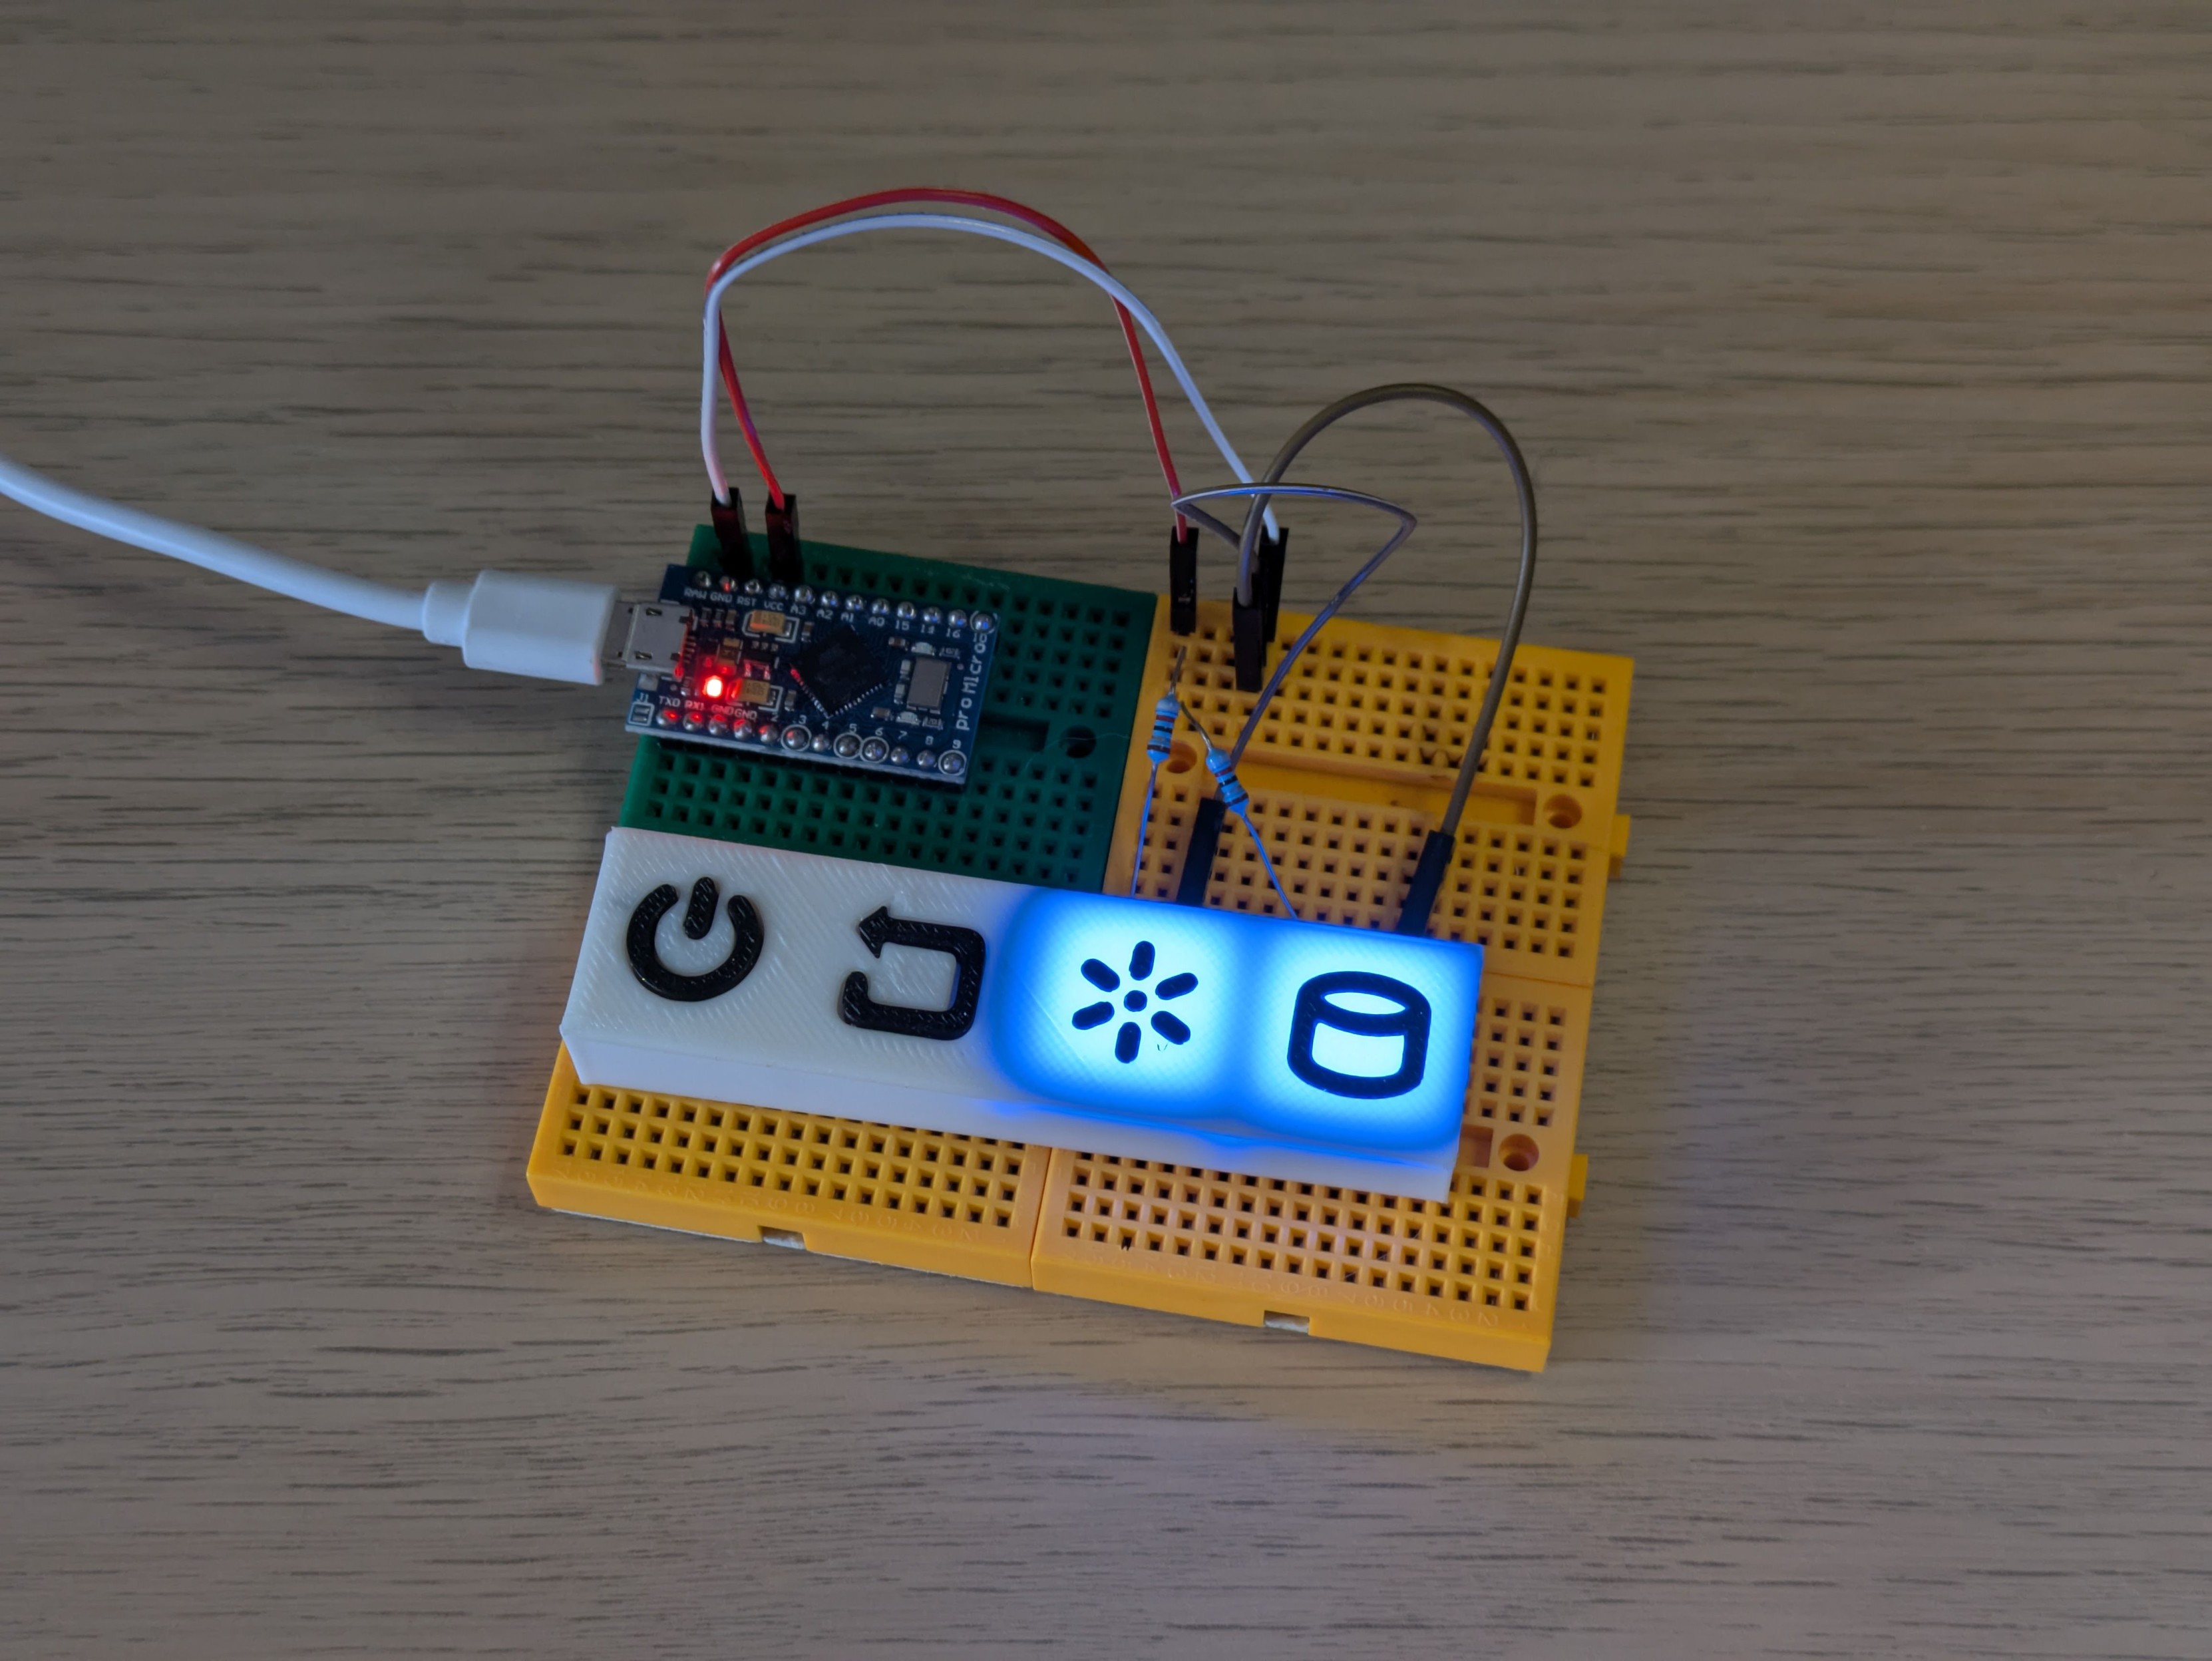
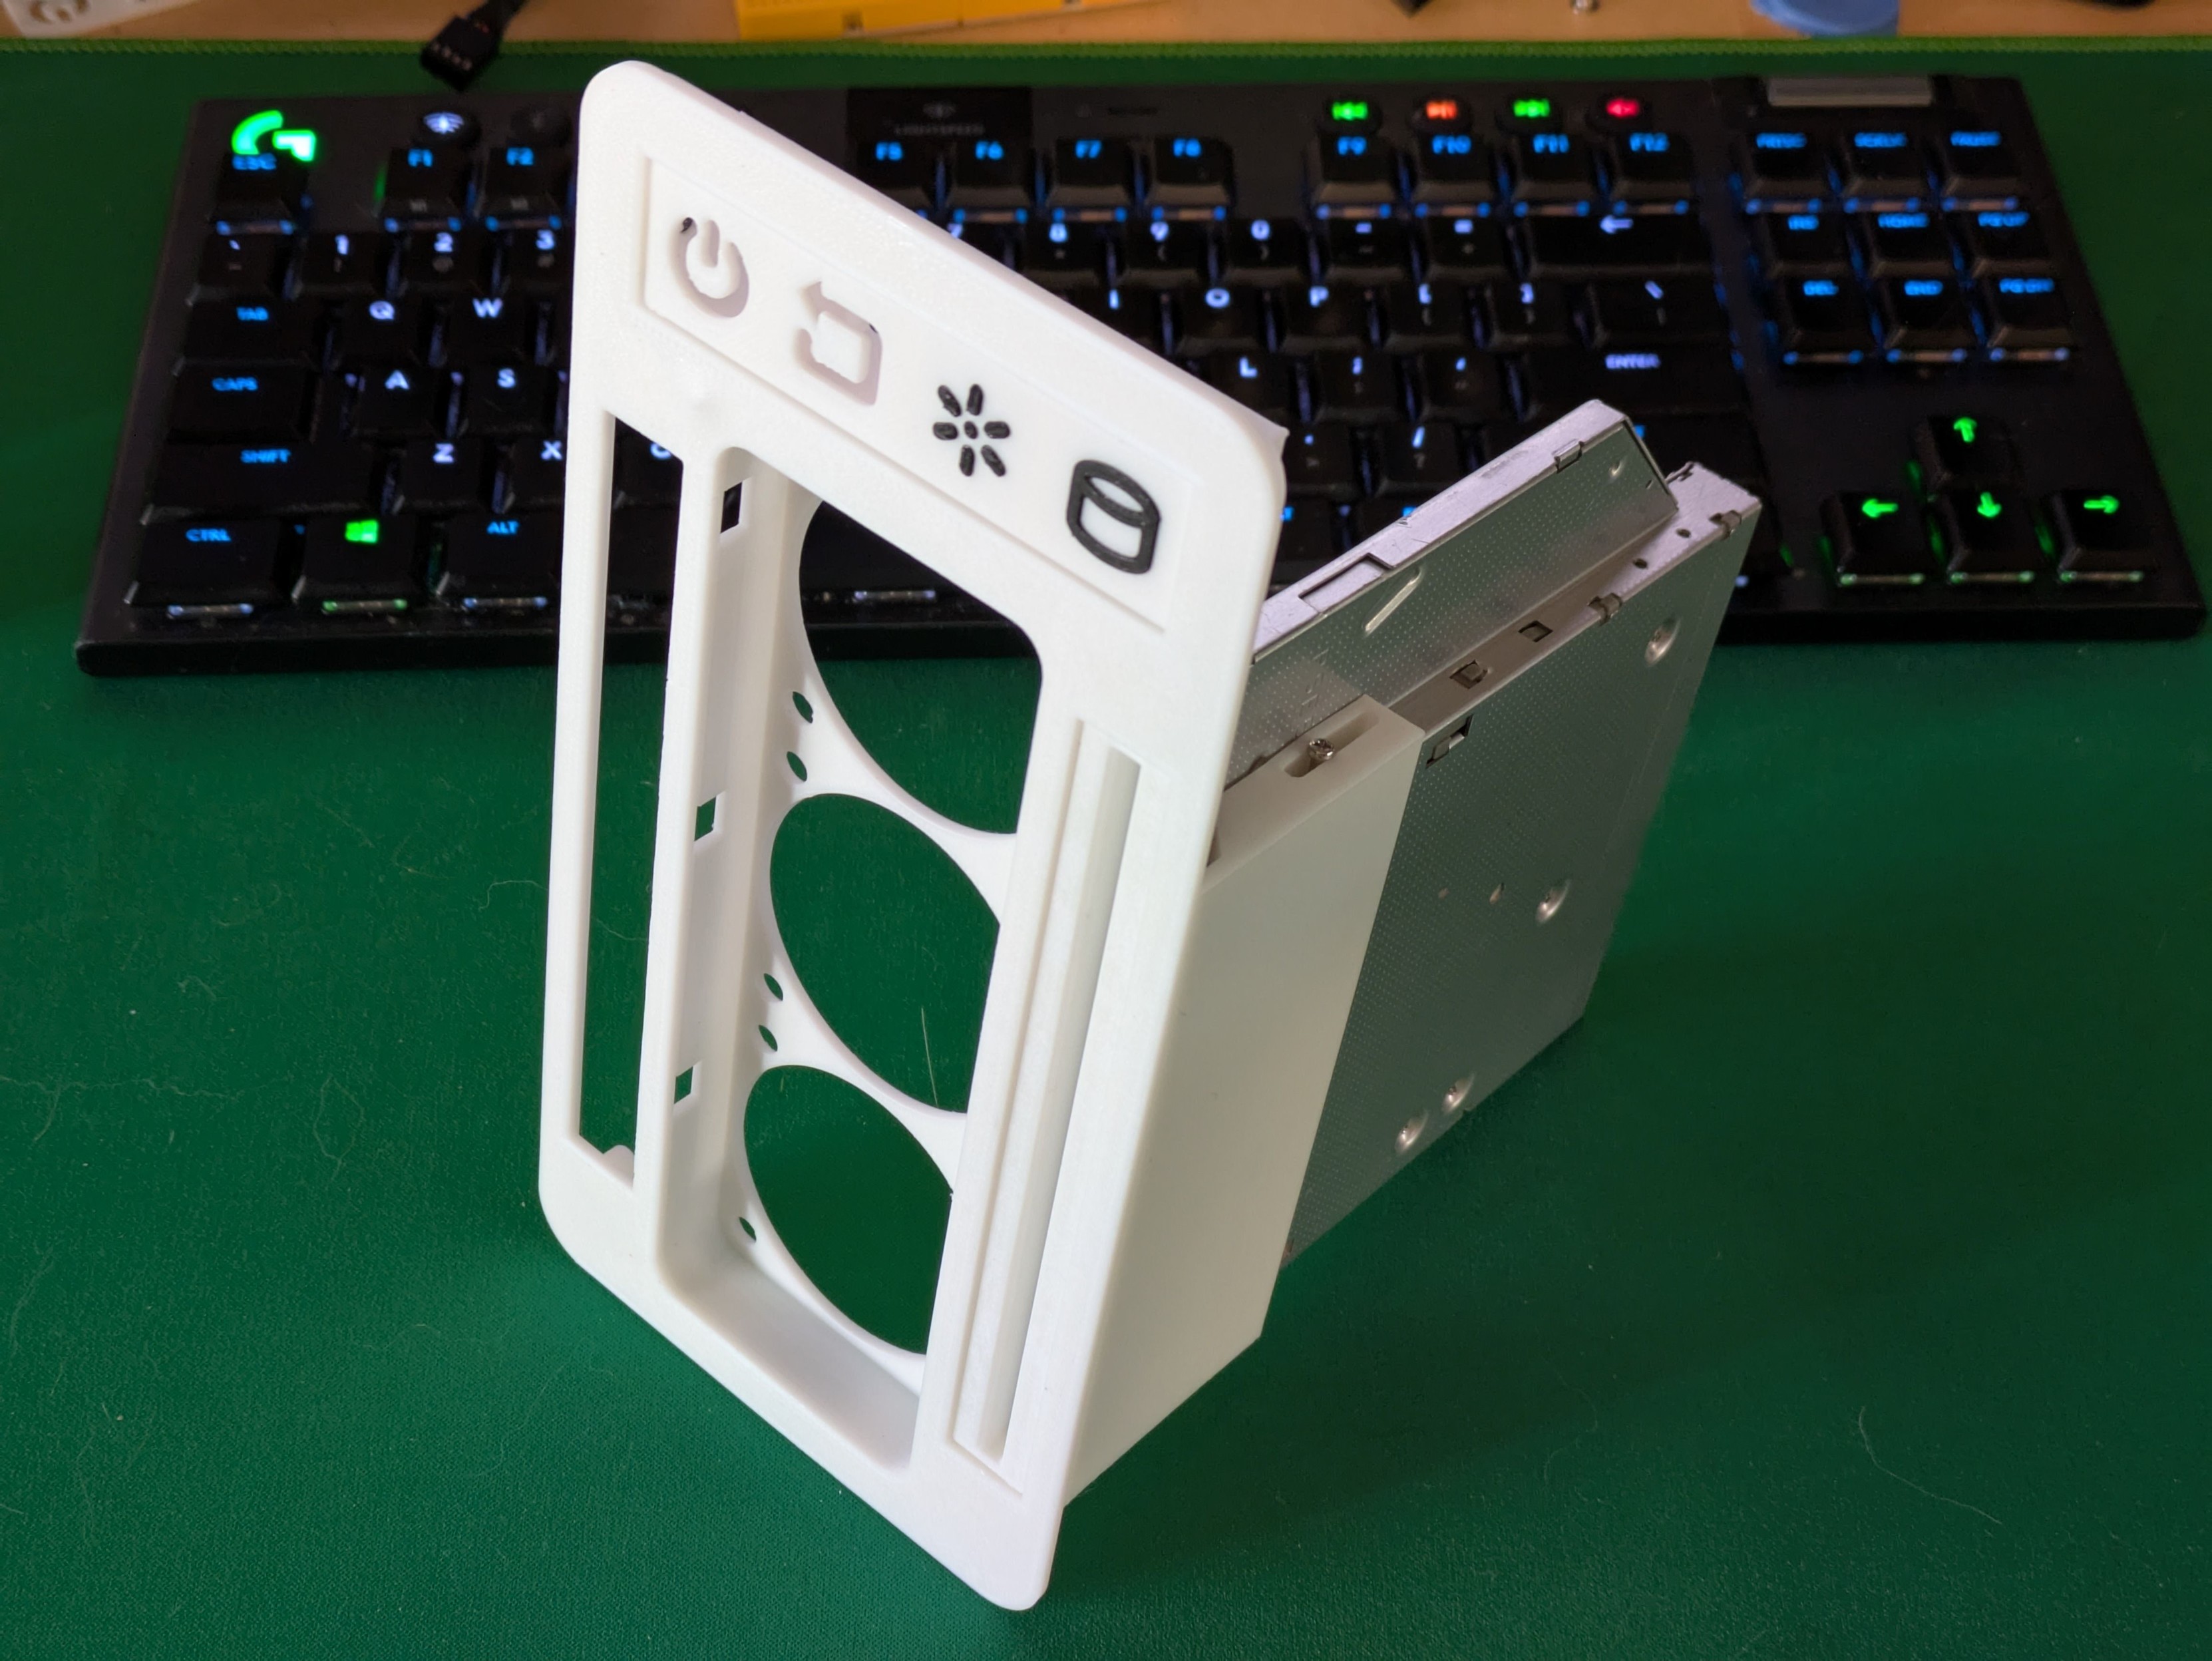
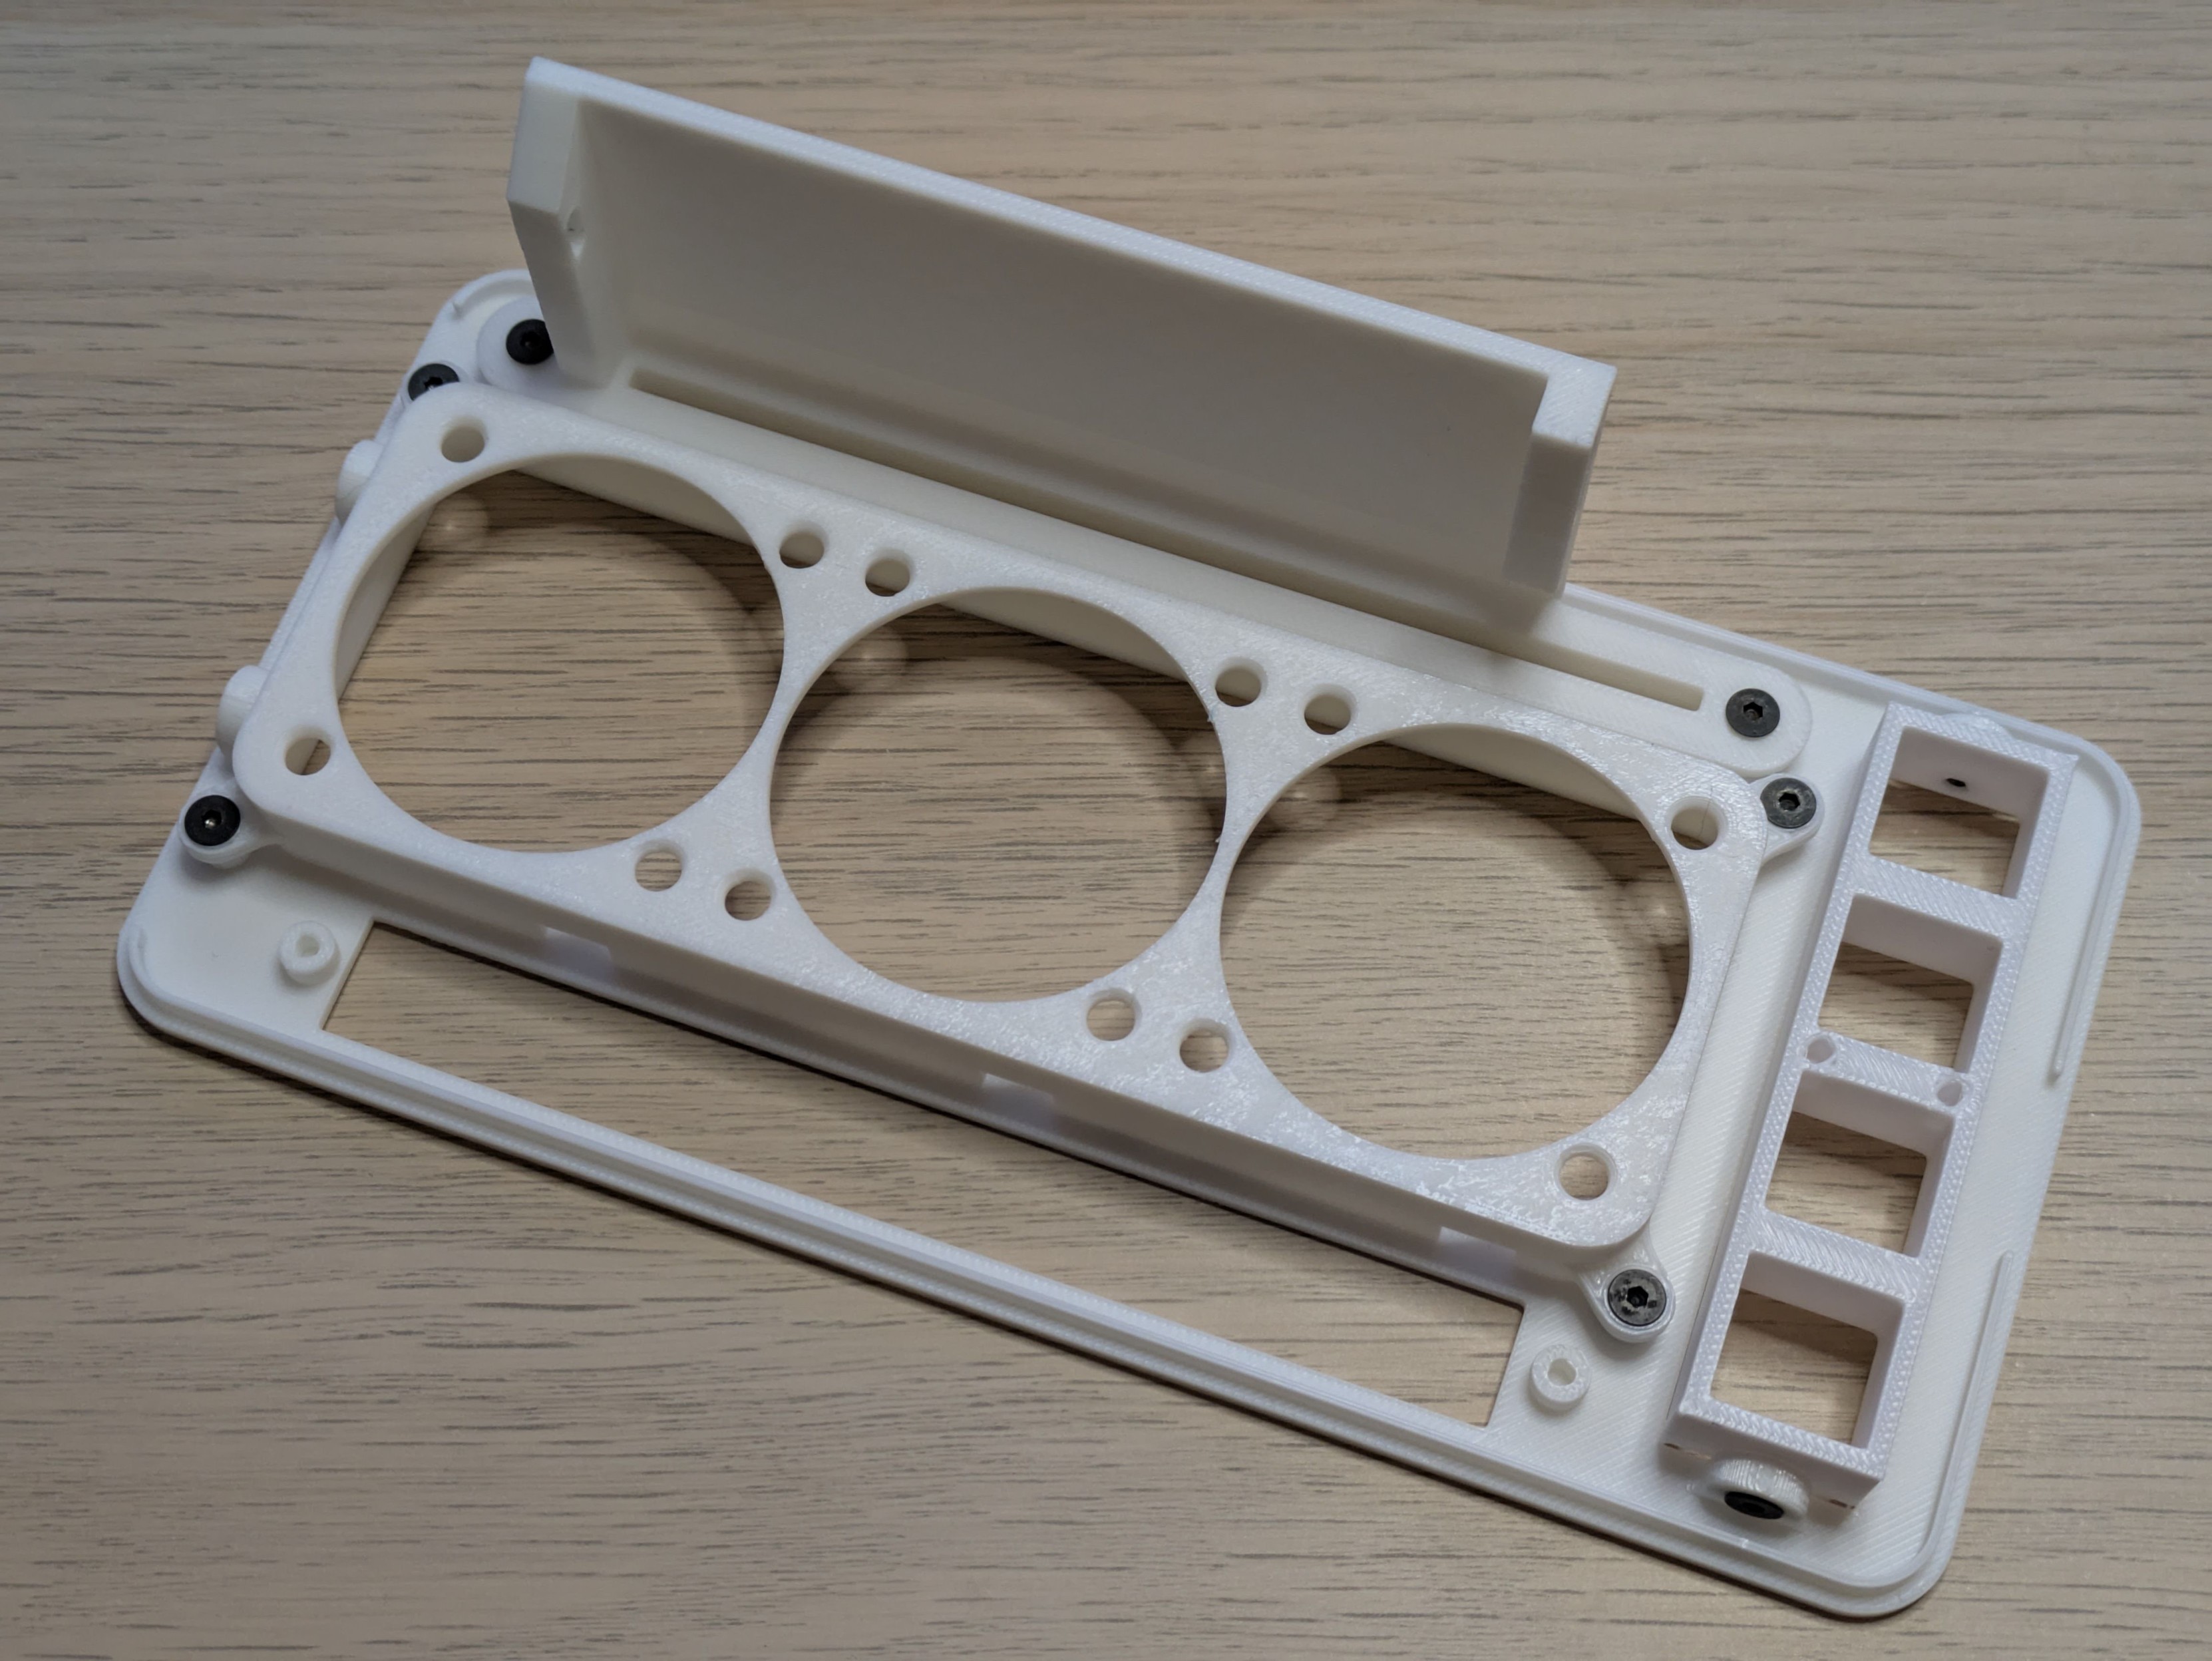
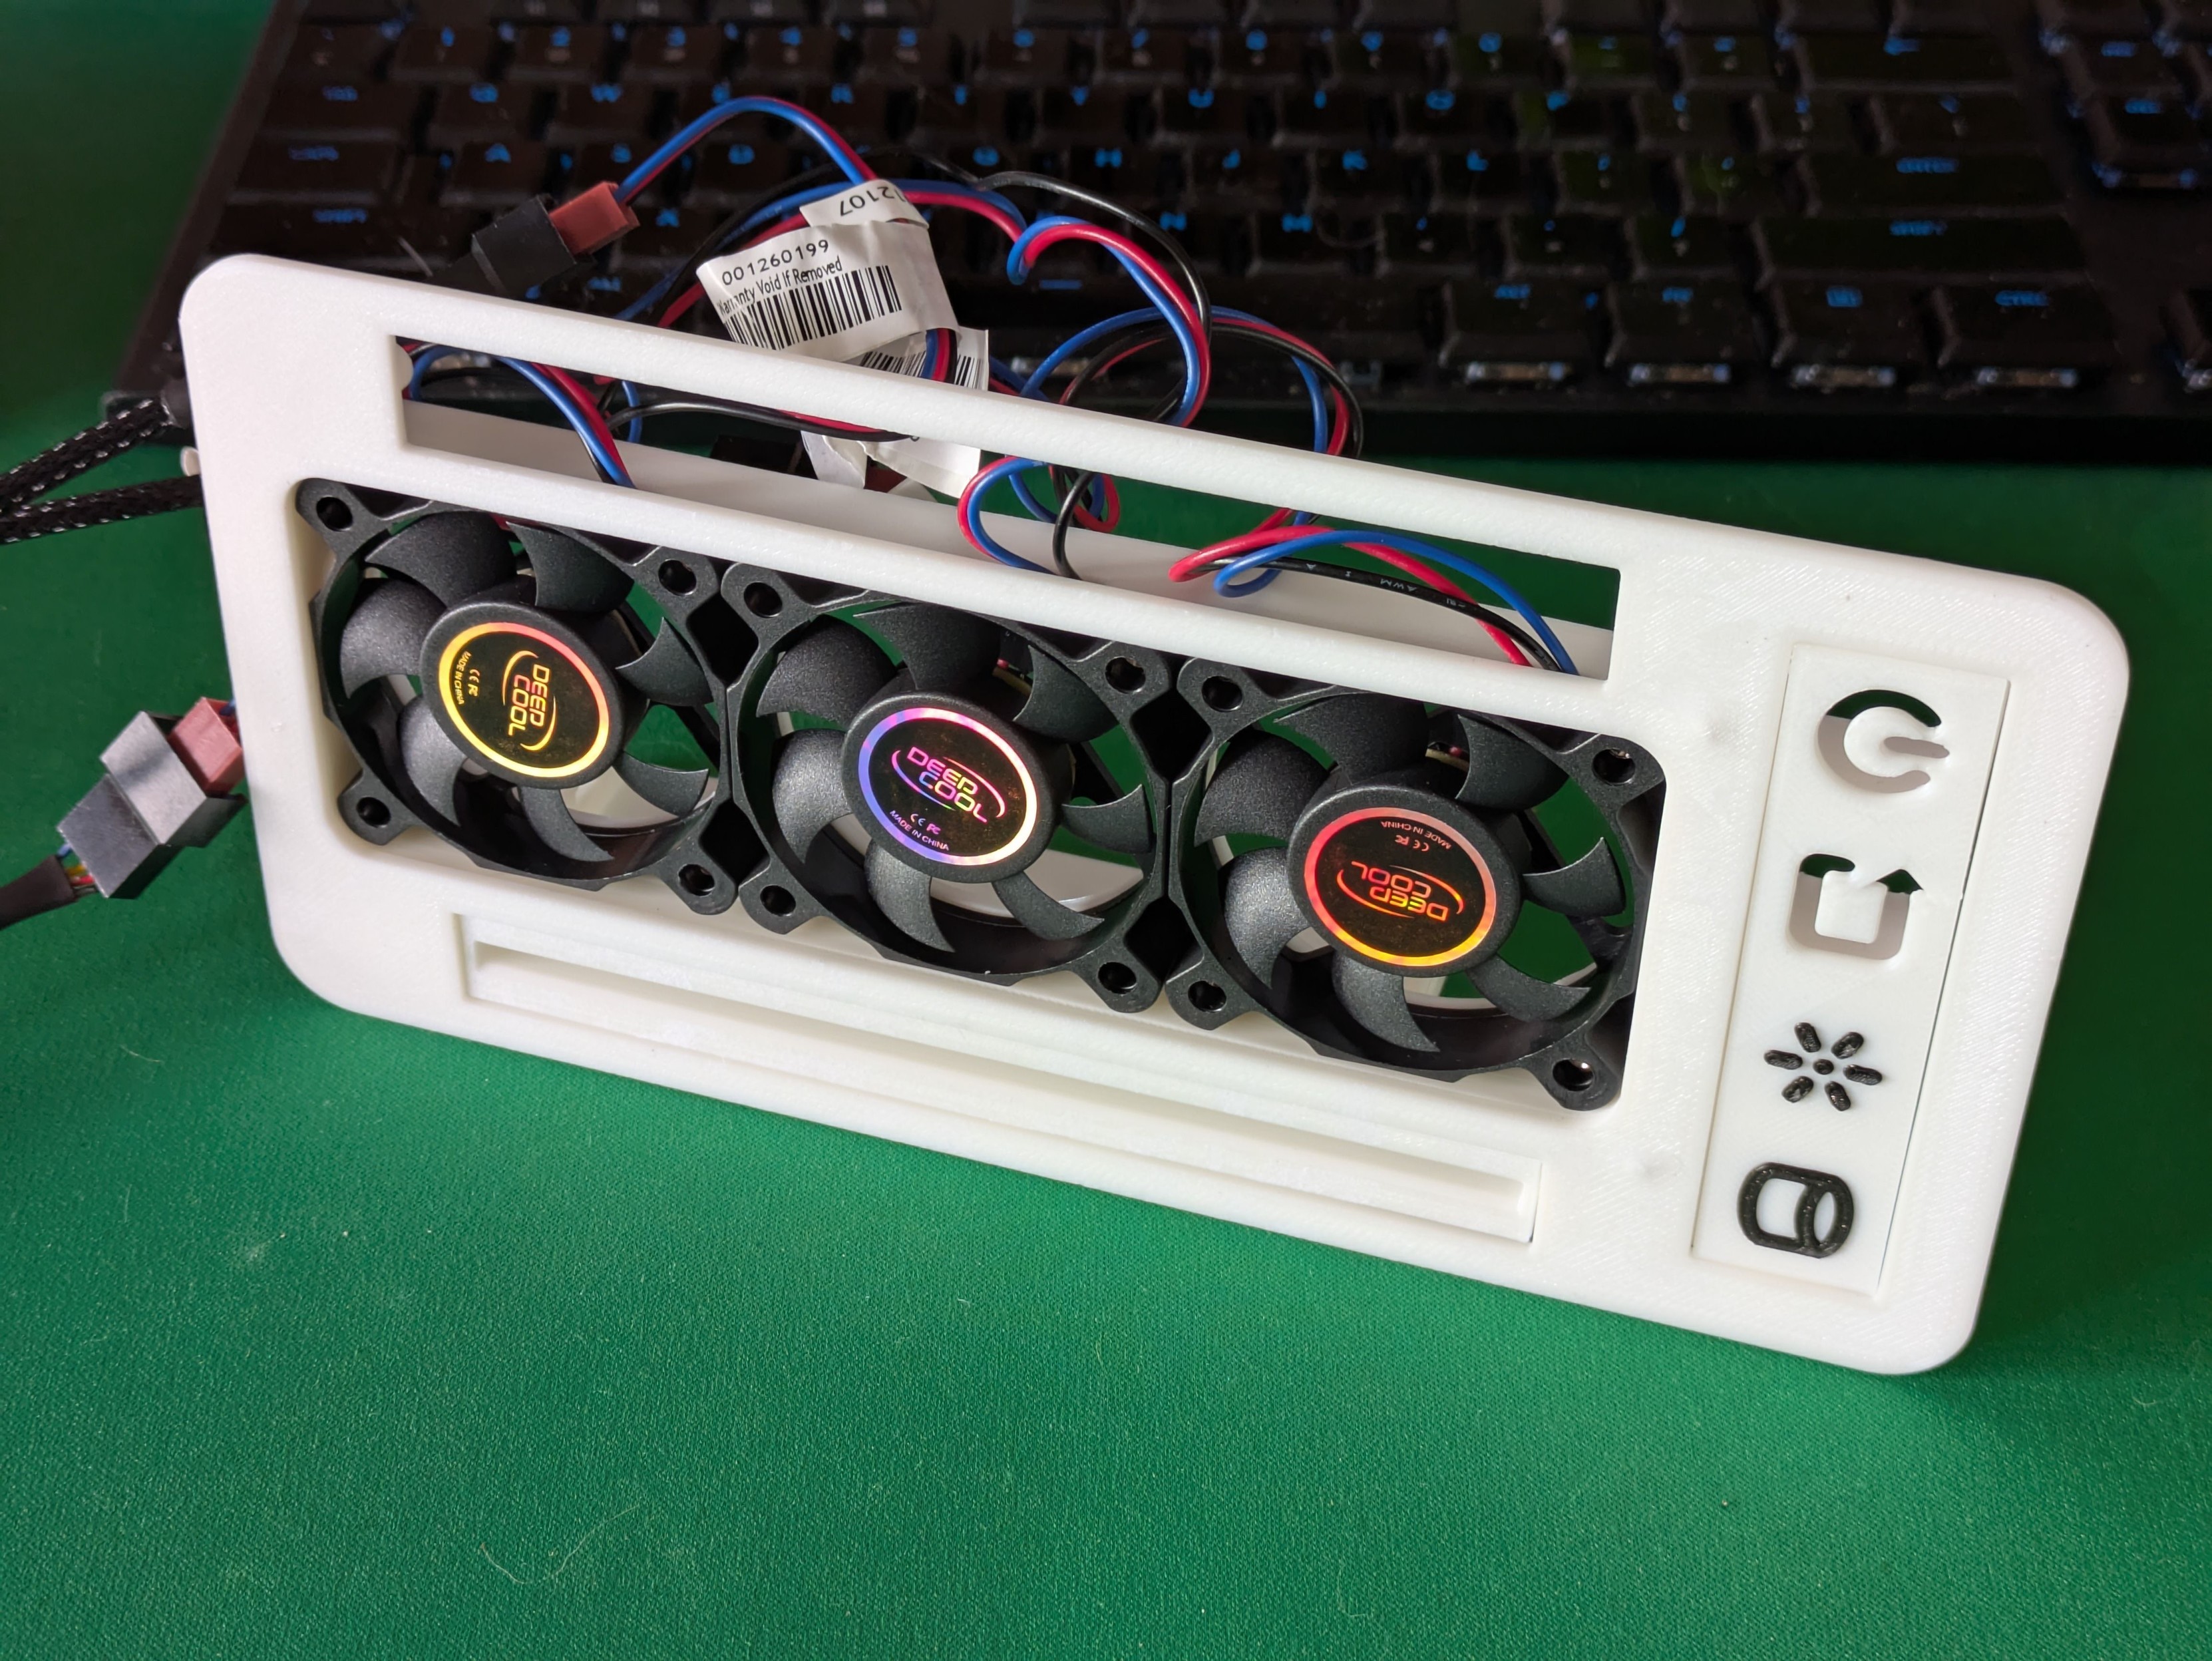
Jul 23, 2025, 1:25 AMThe four horsemen of vintage PC enthusiasm: power button, reset button, power light, hard drive activity light.
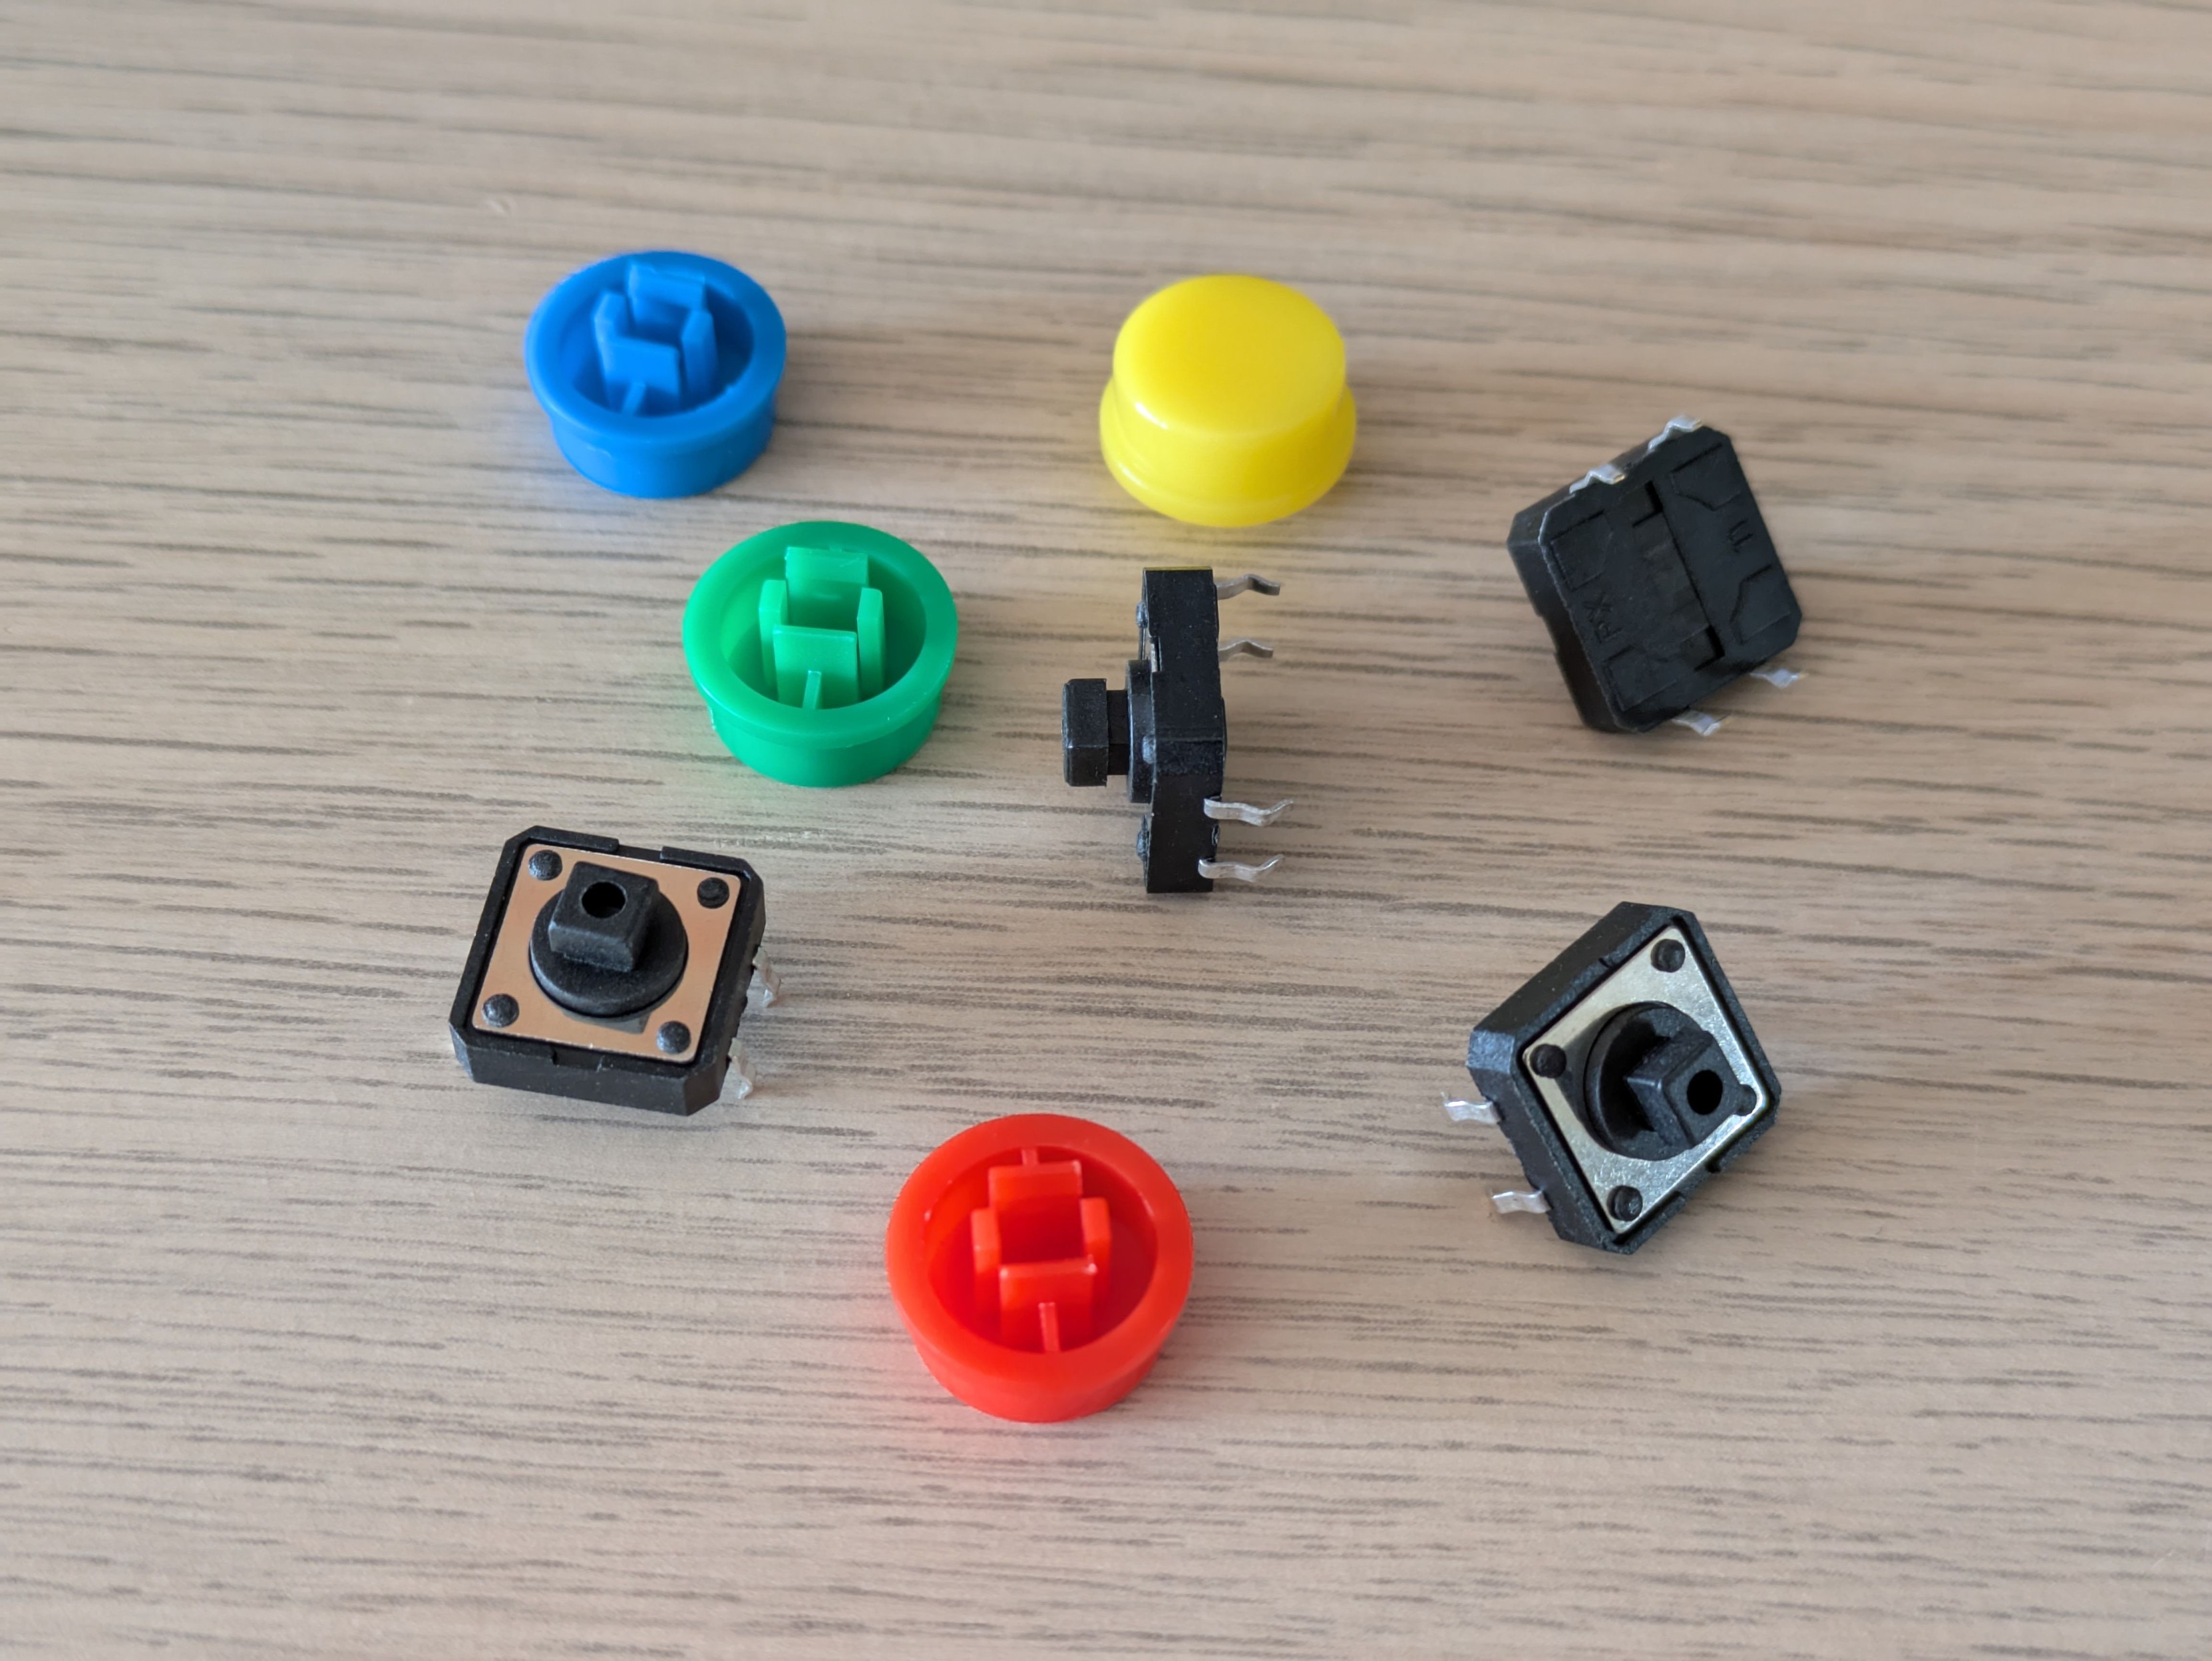
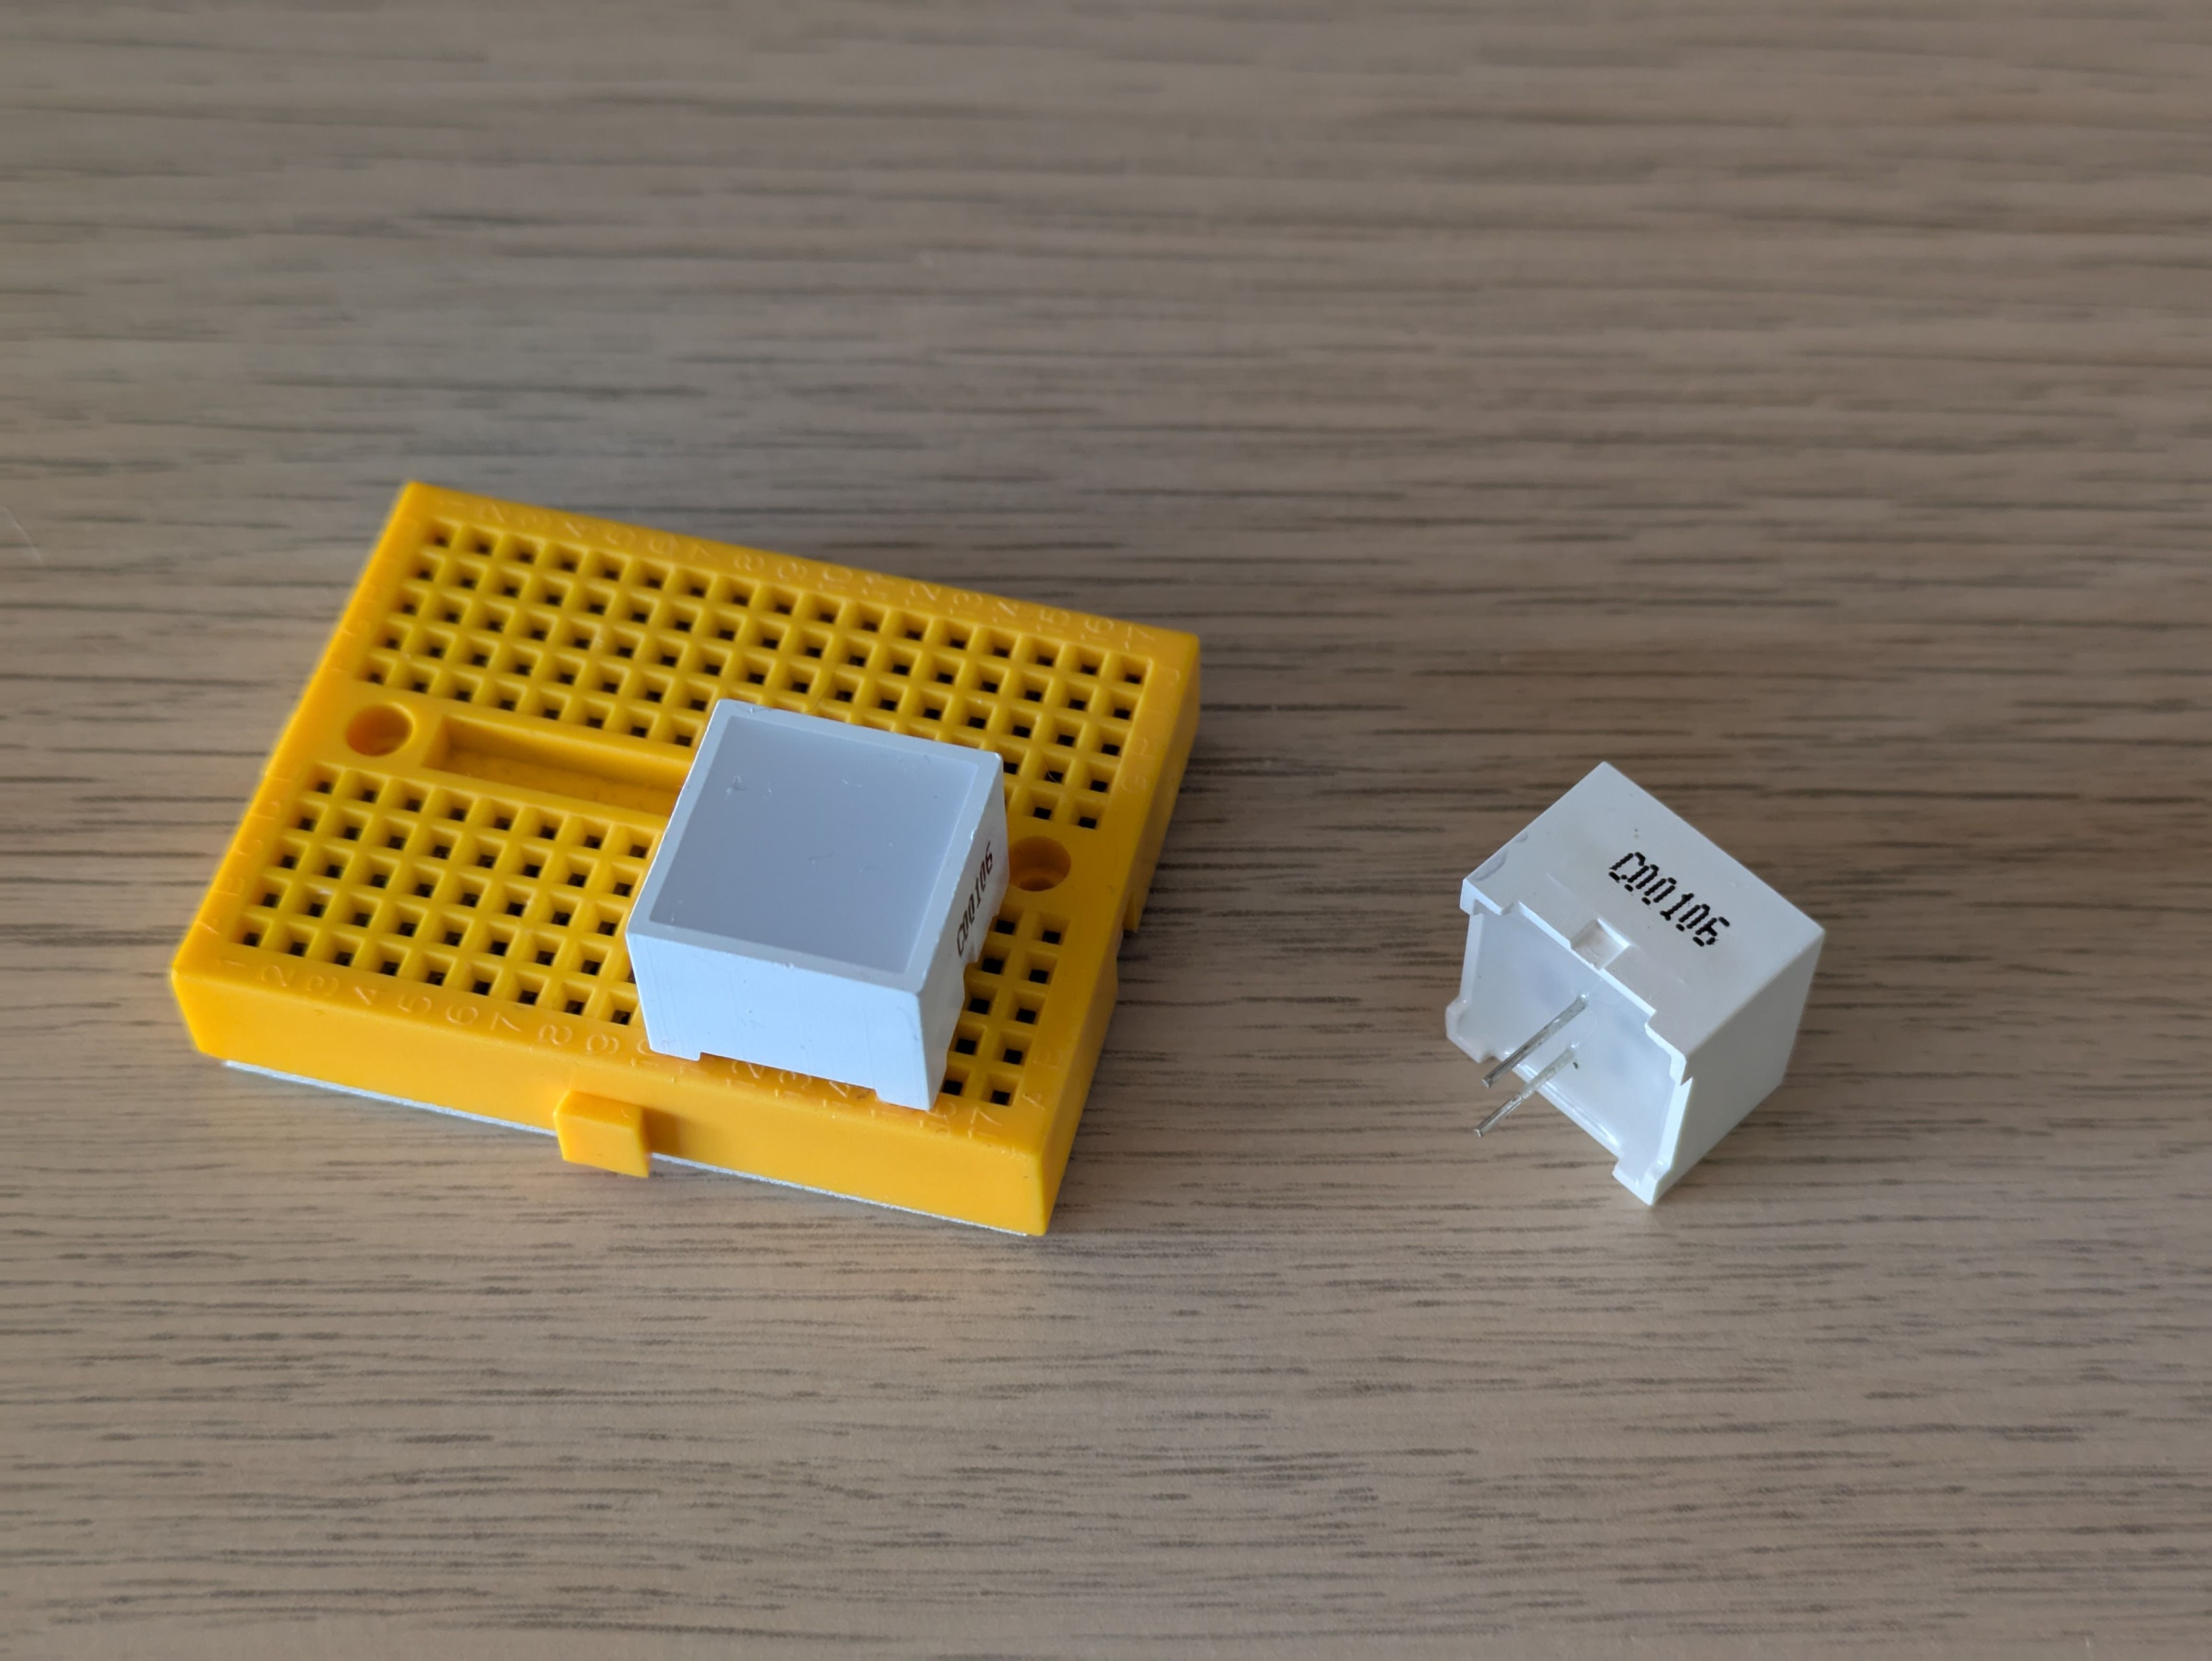
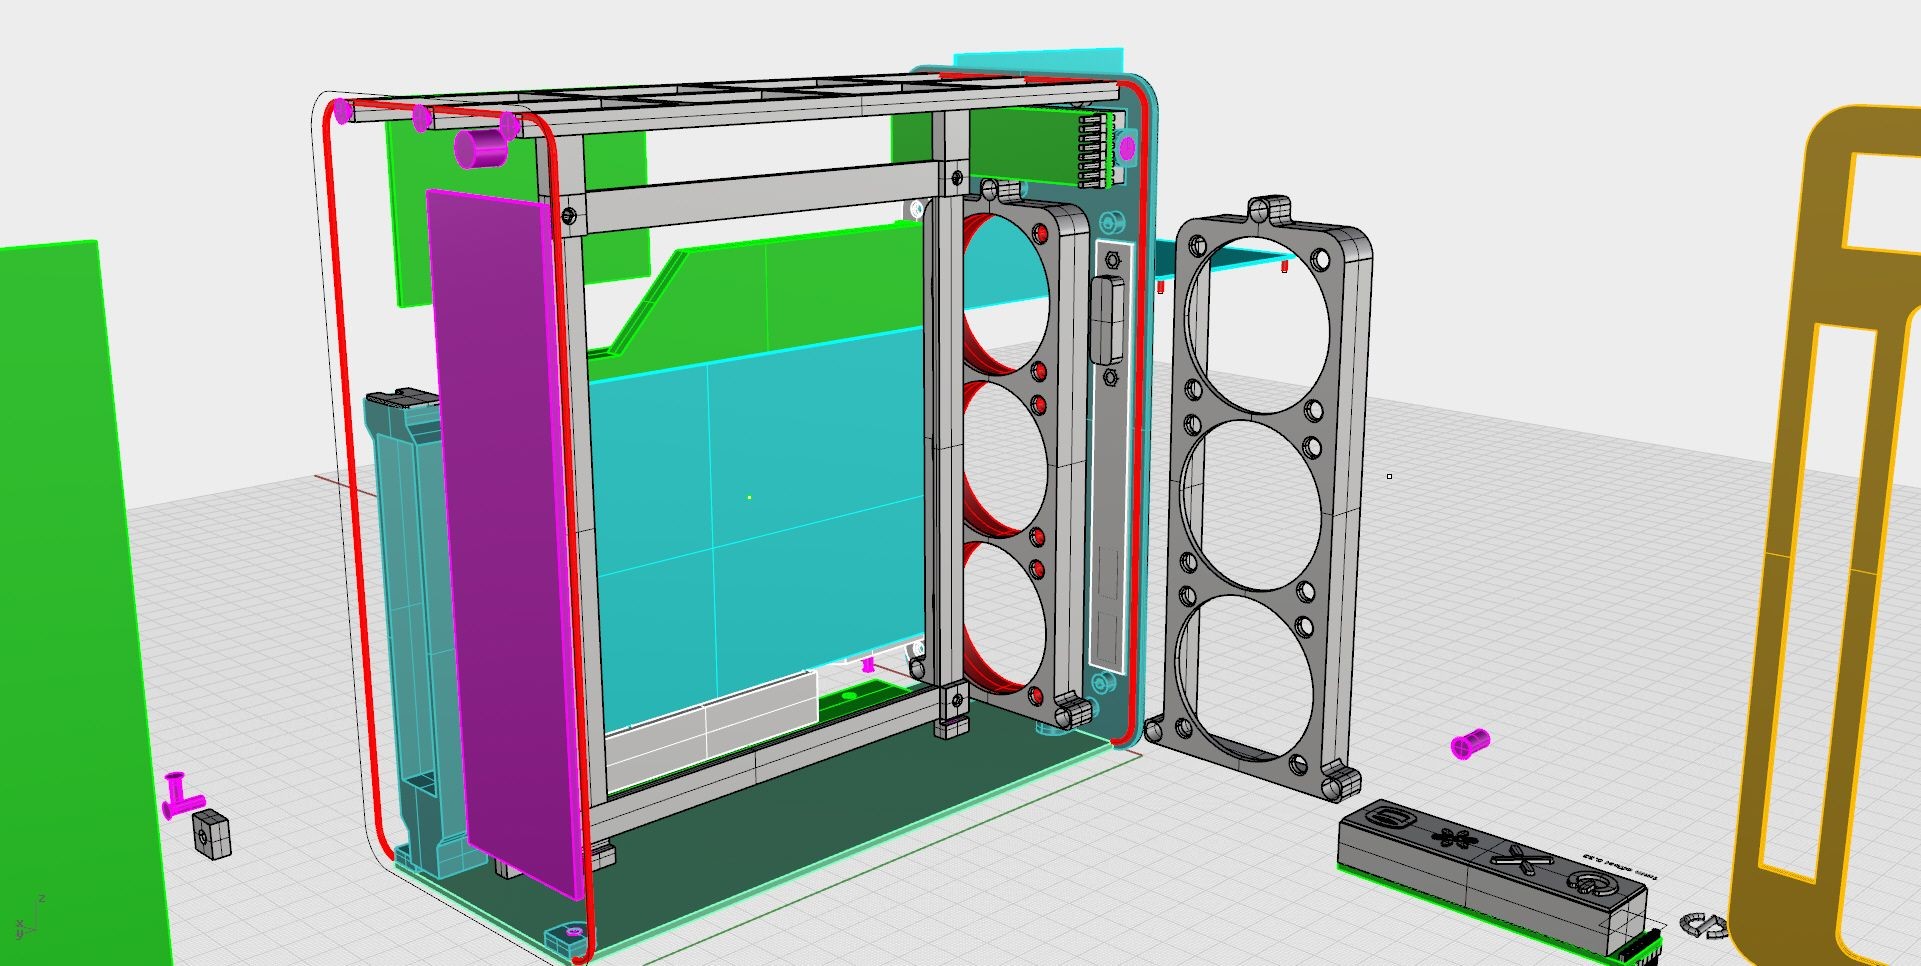
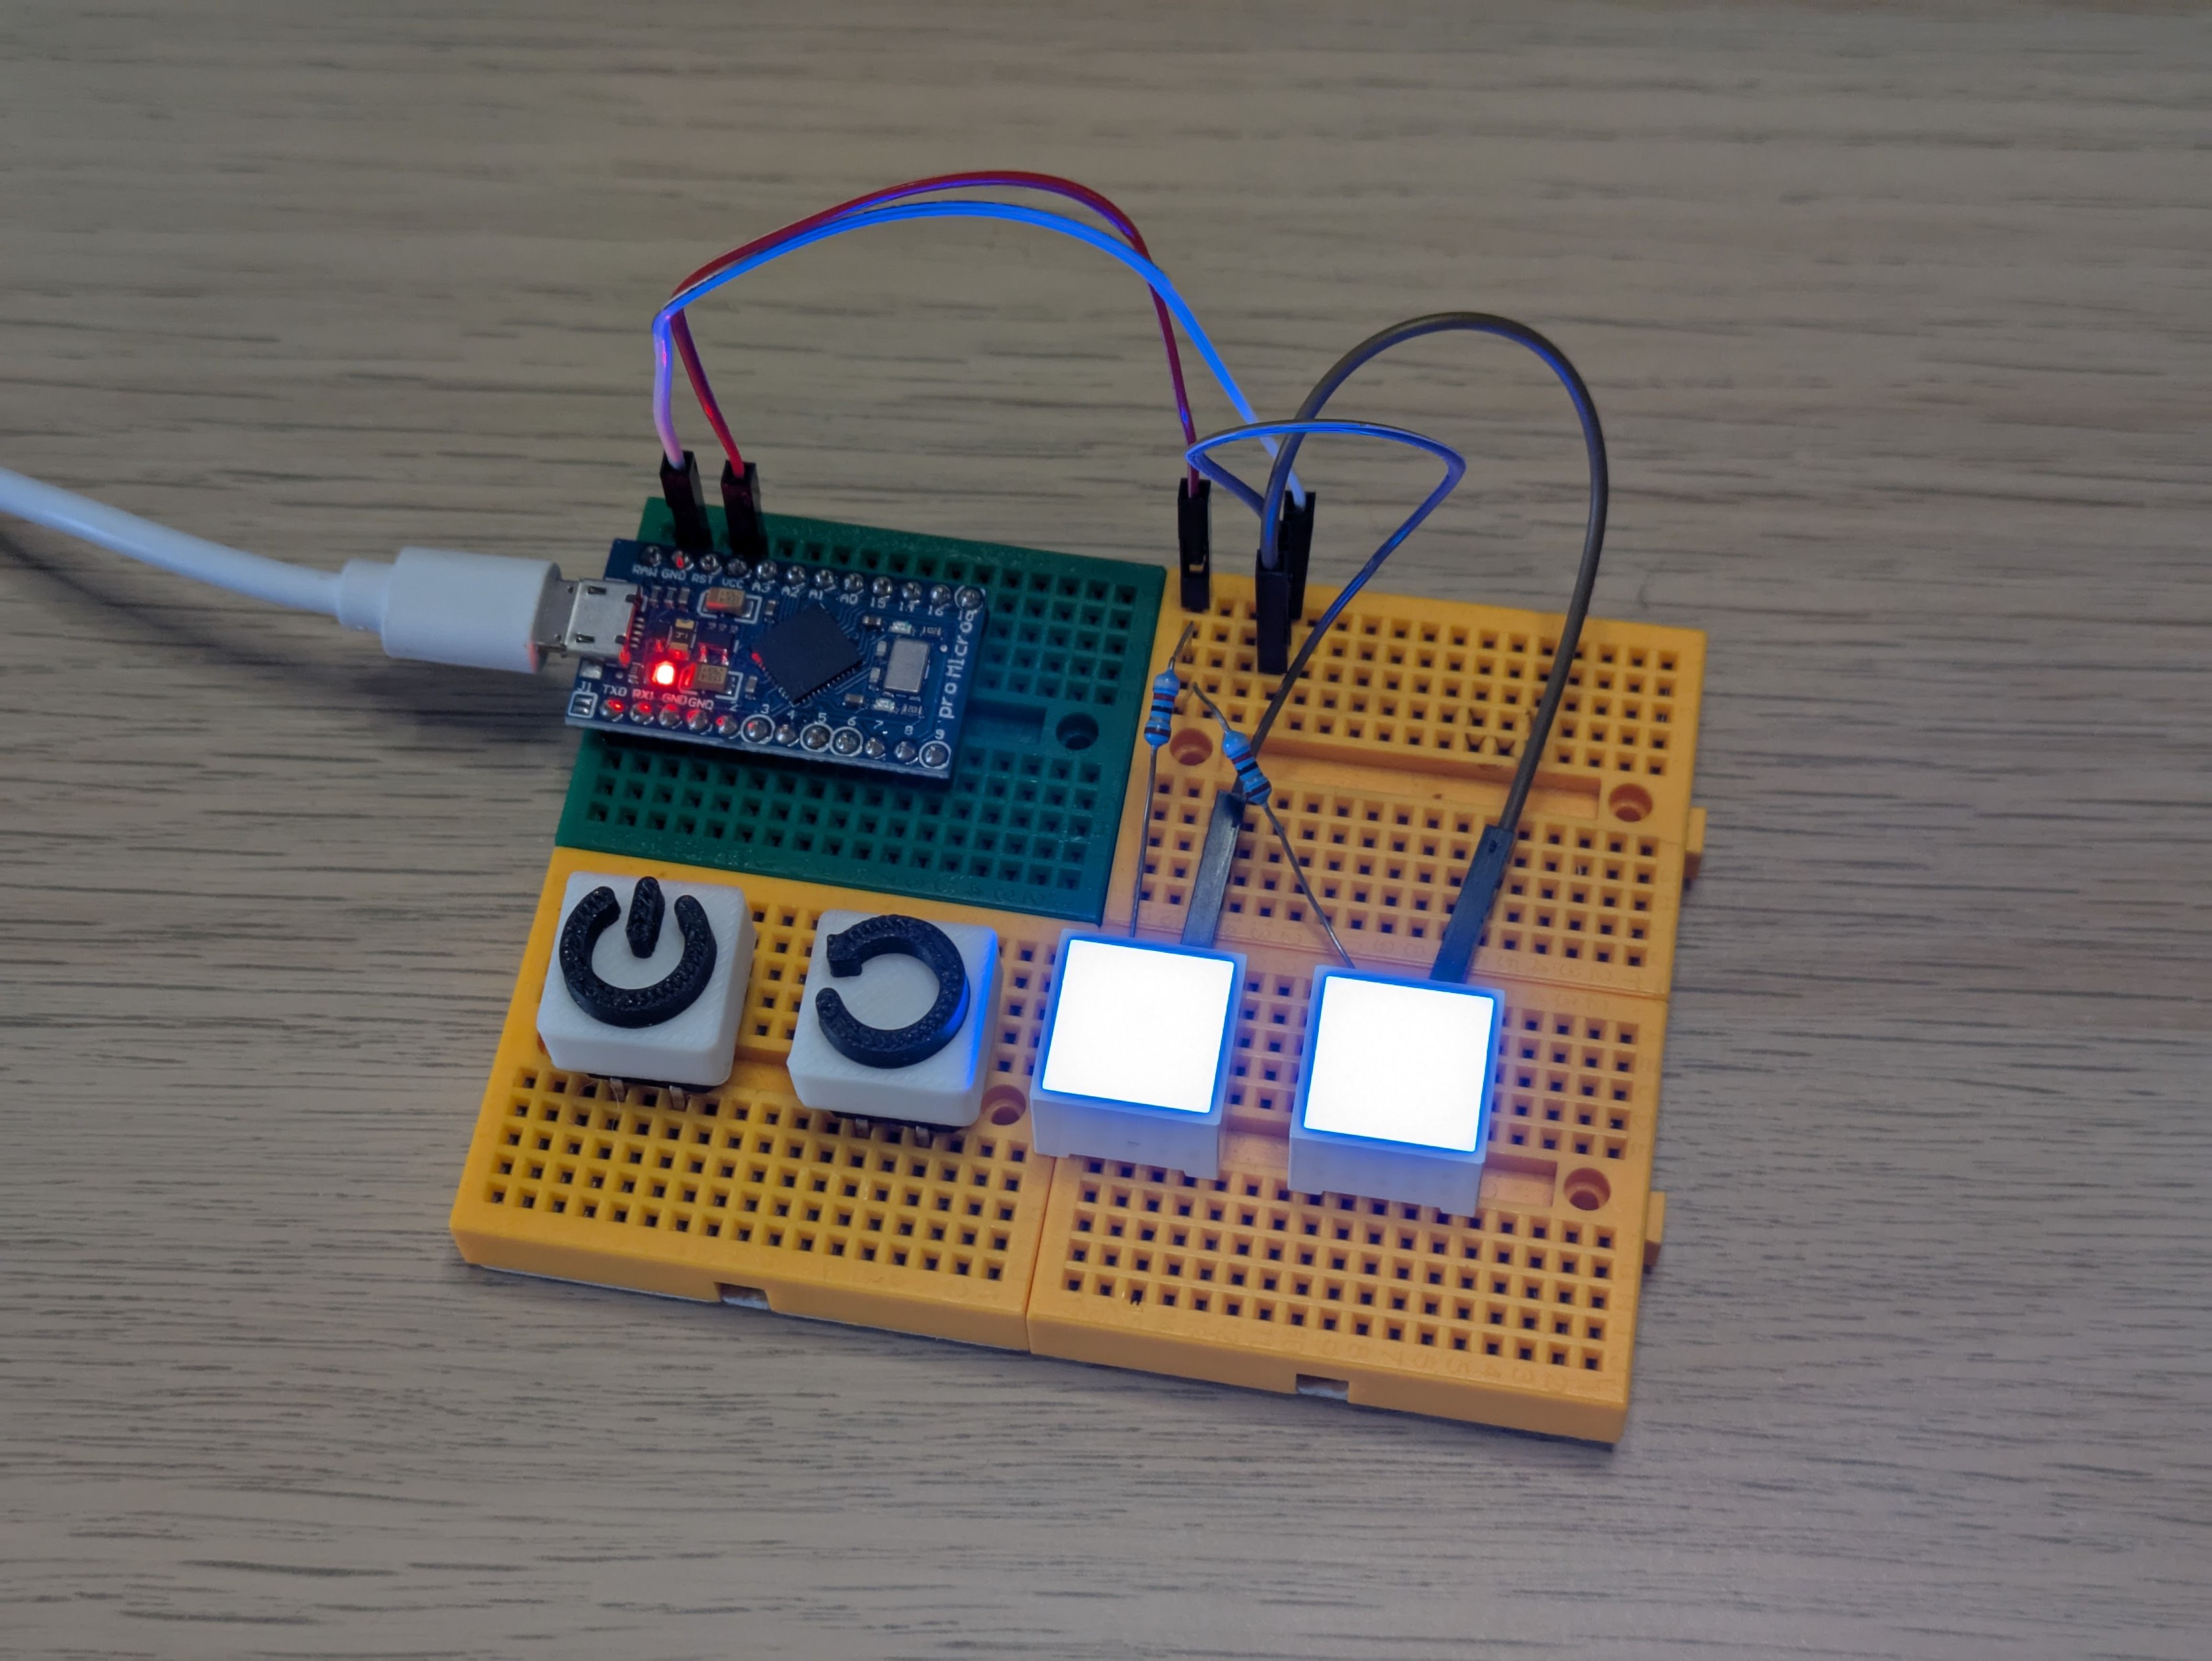
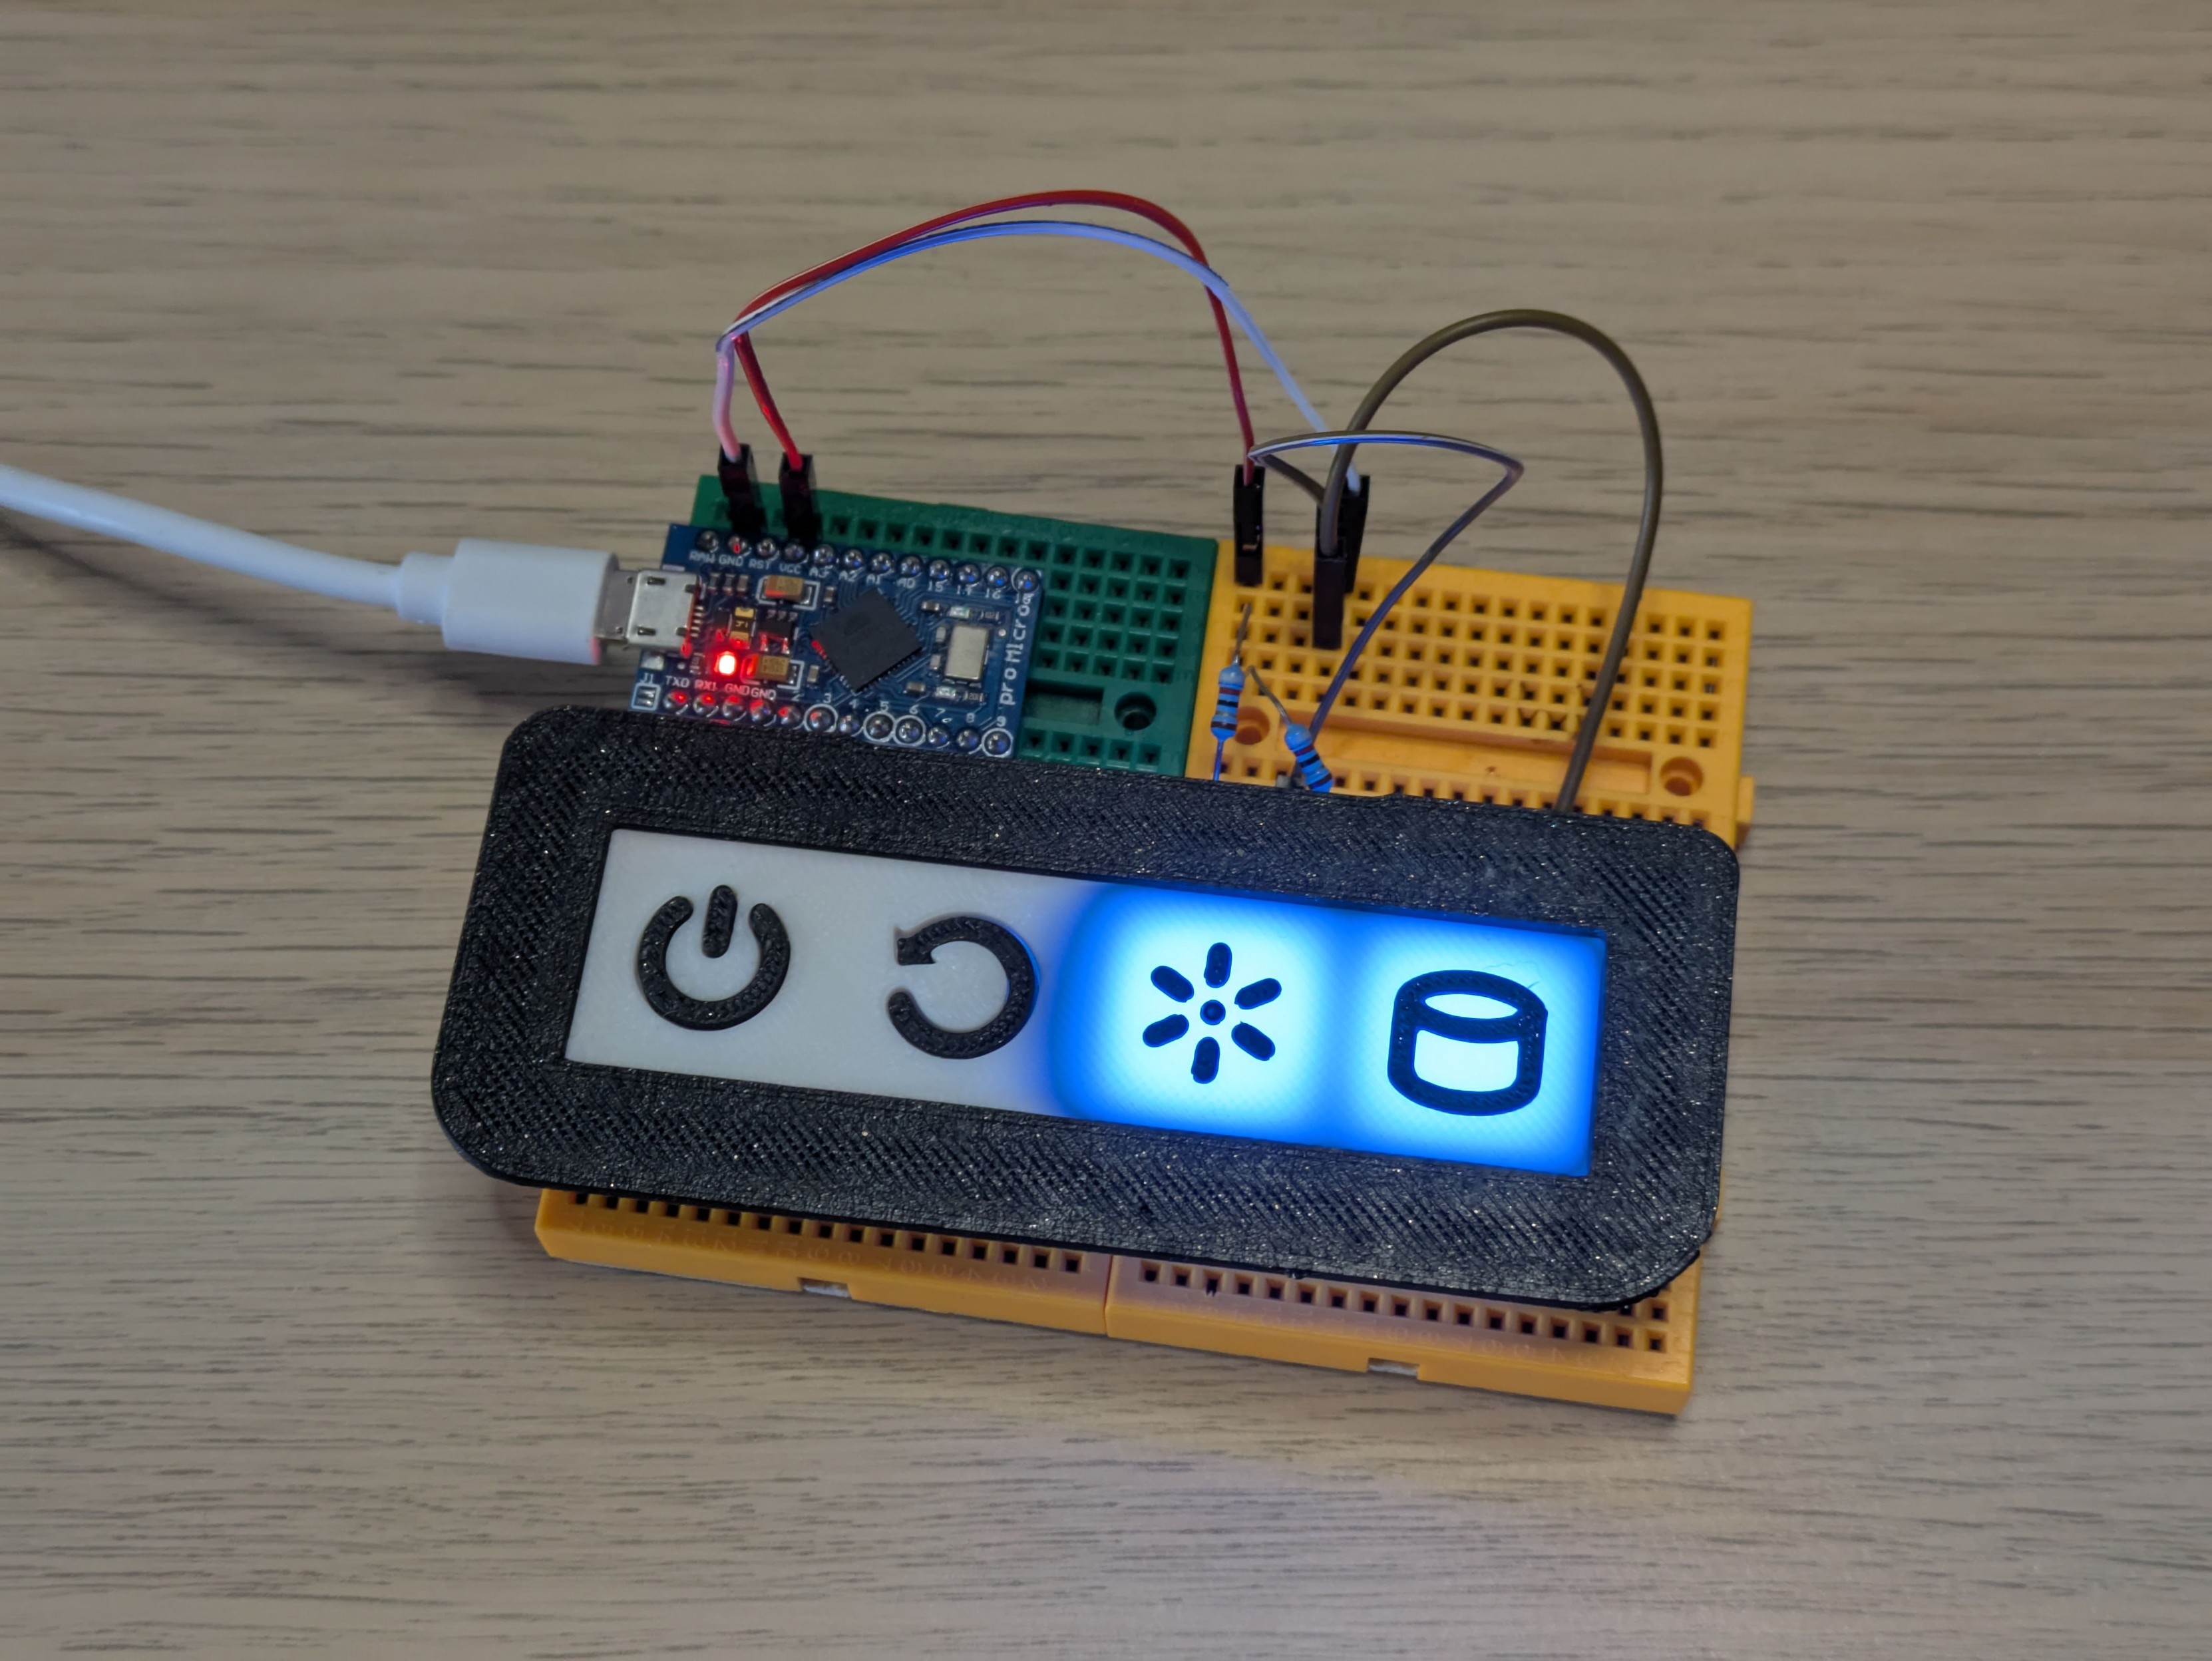
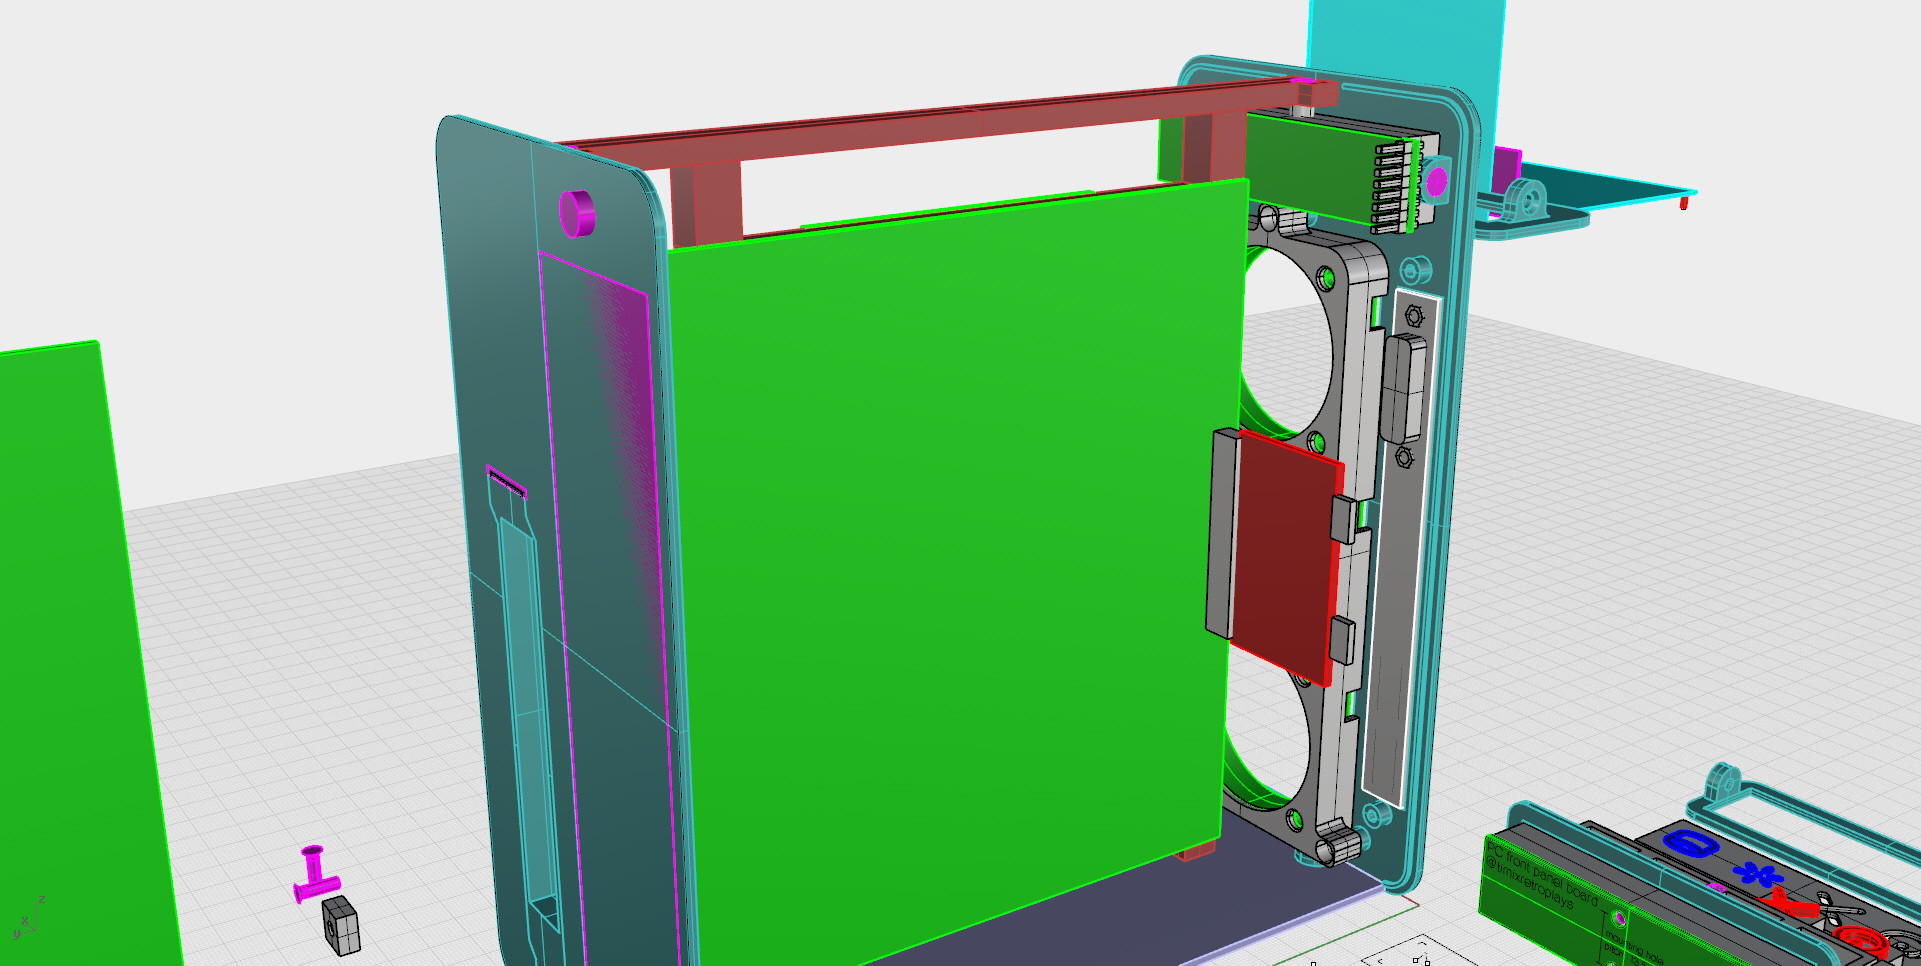
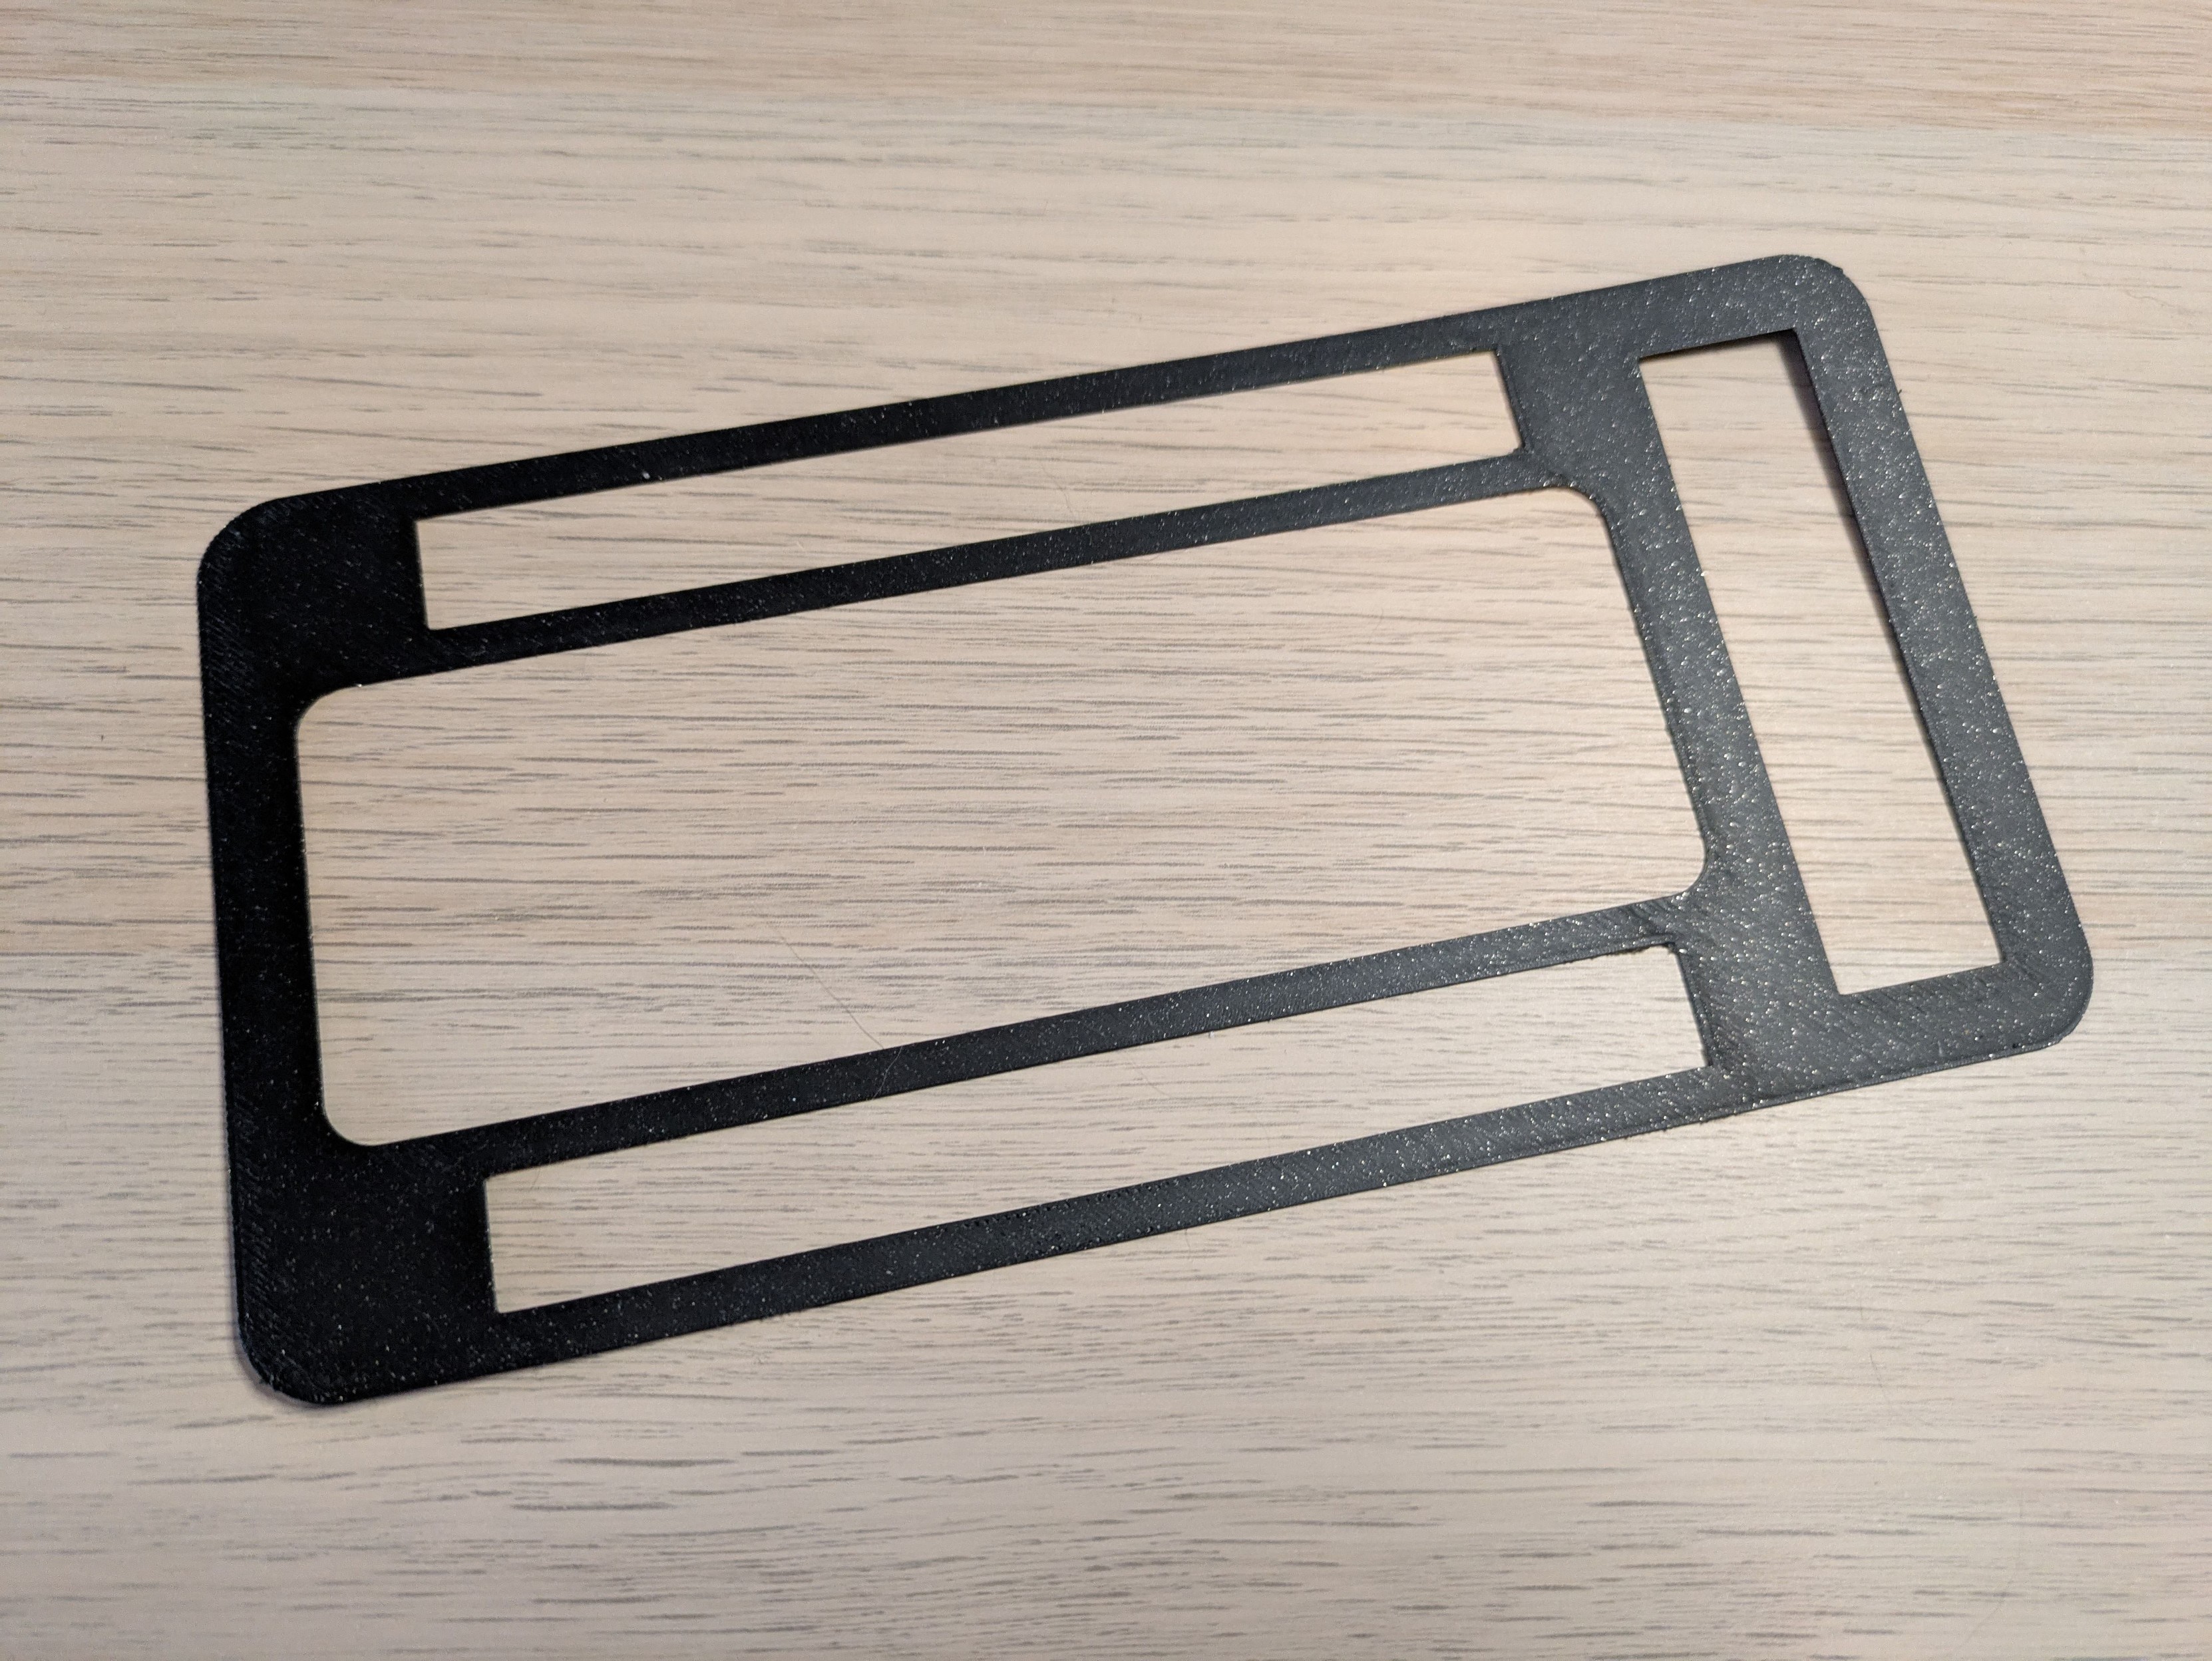
The power and reset button parts extend through the faceplate to press buttons on a circuit board underneath. The two light glyphs will sit atop a super-thin 3D printed layer with a bright LED underneath, so the whole right side of the panel will glow.
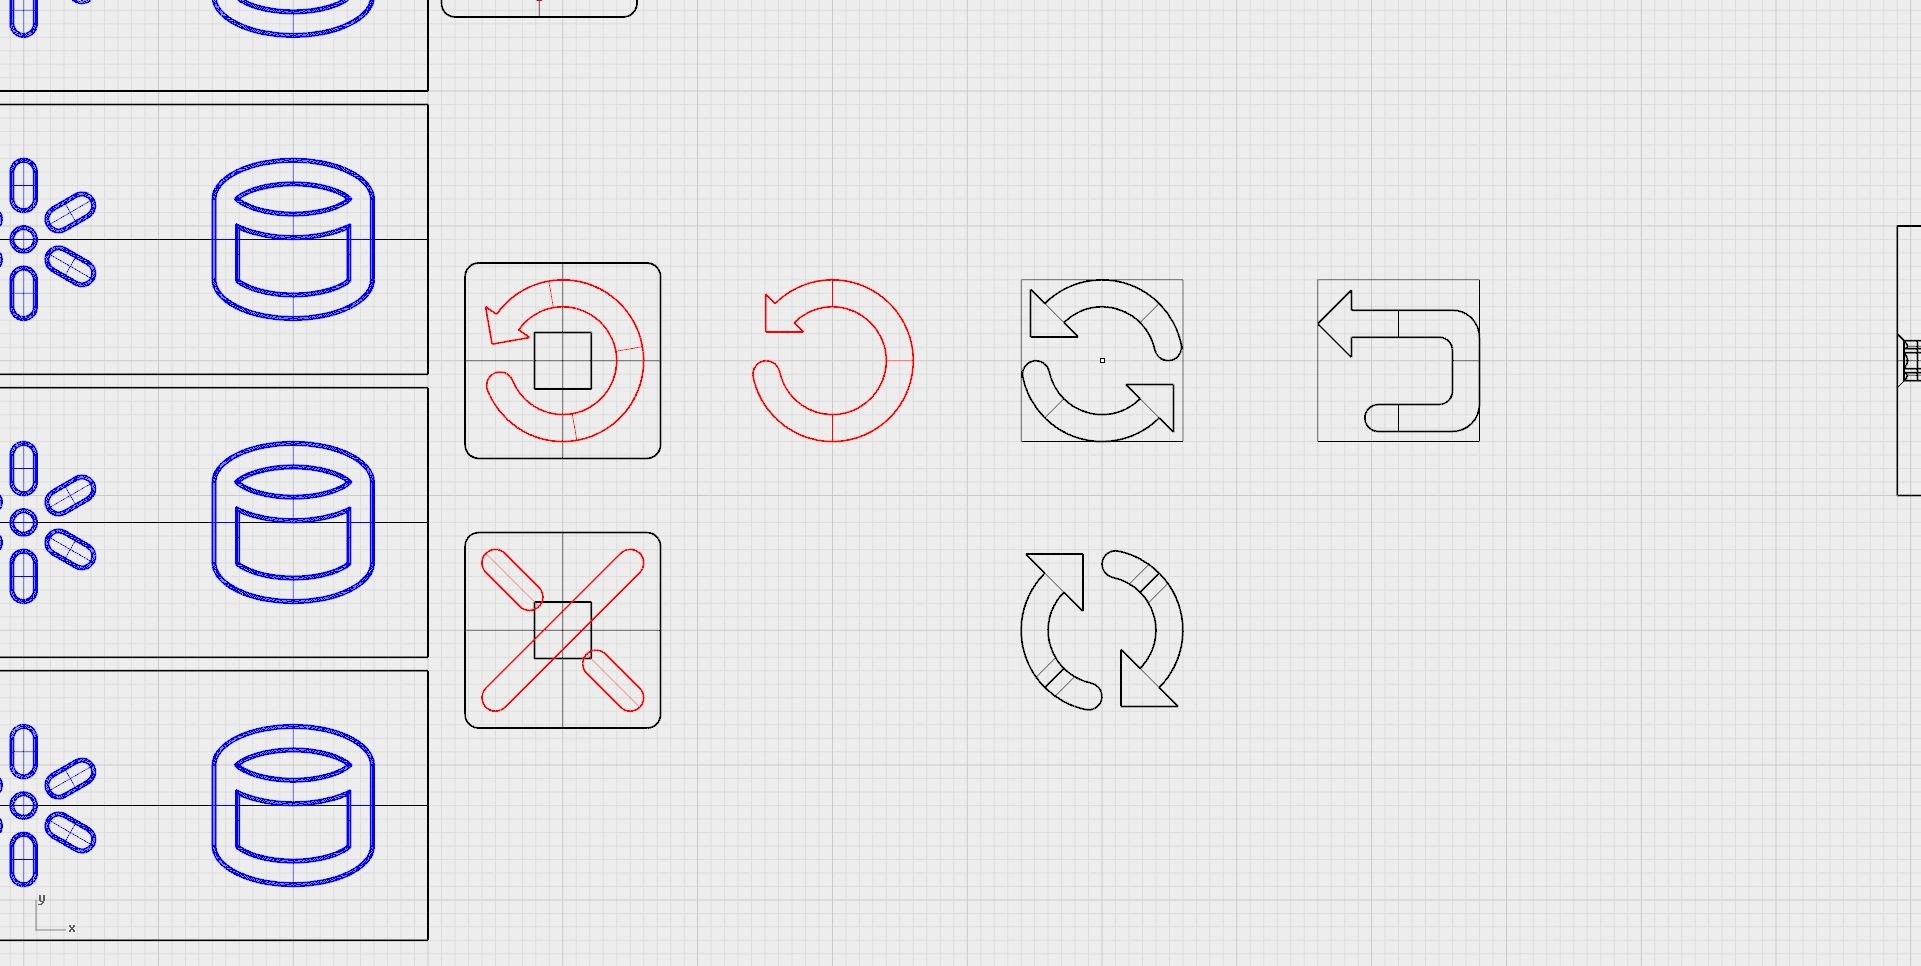
The design and scale of the individual bits will change before the final version, but I'm pretty firmly wedded to this idea overall.